Chili Cheese Fries
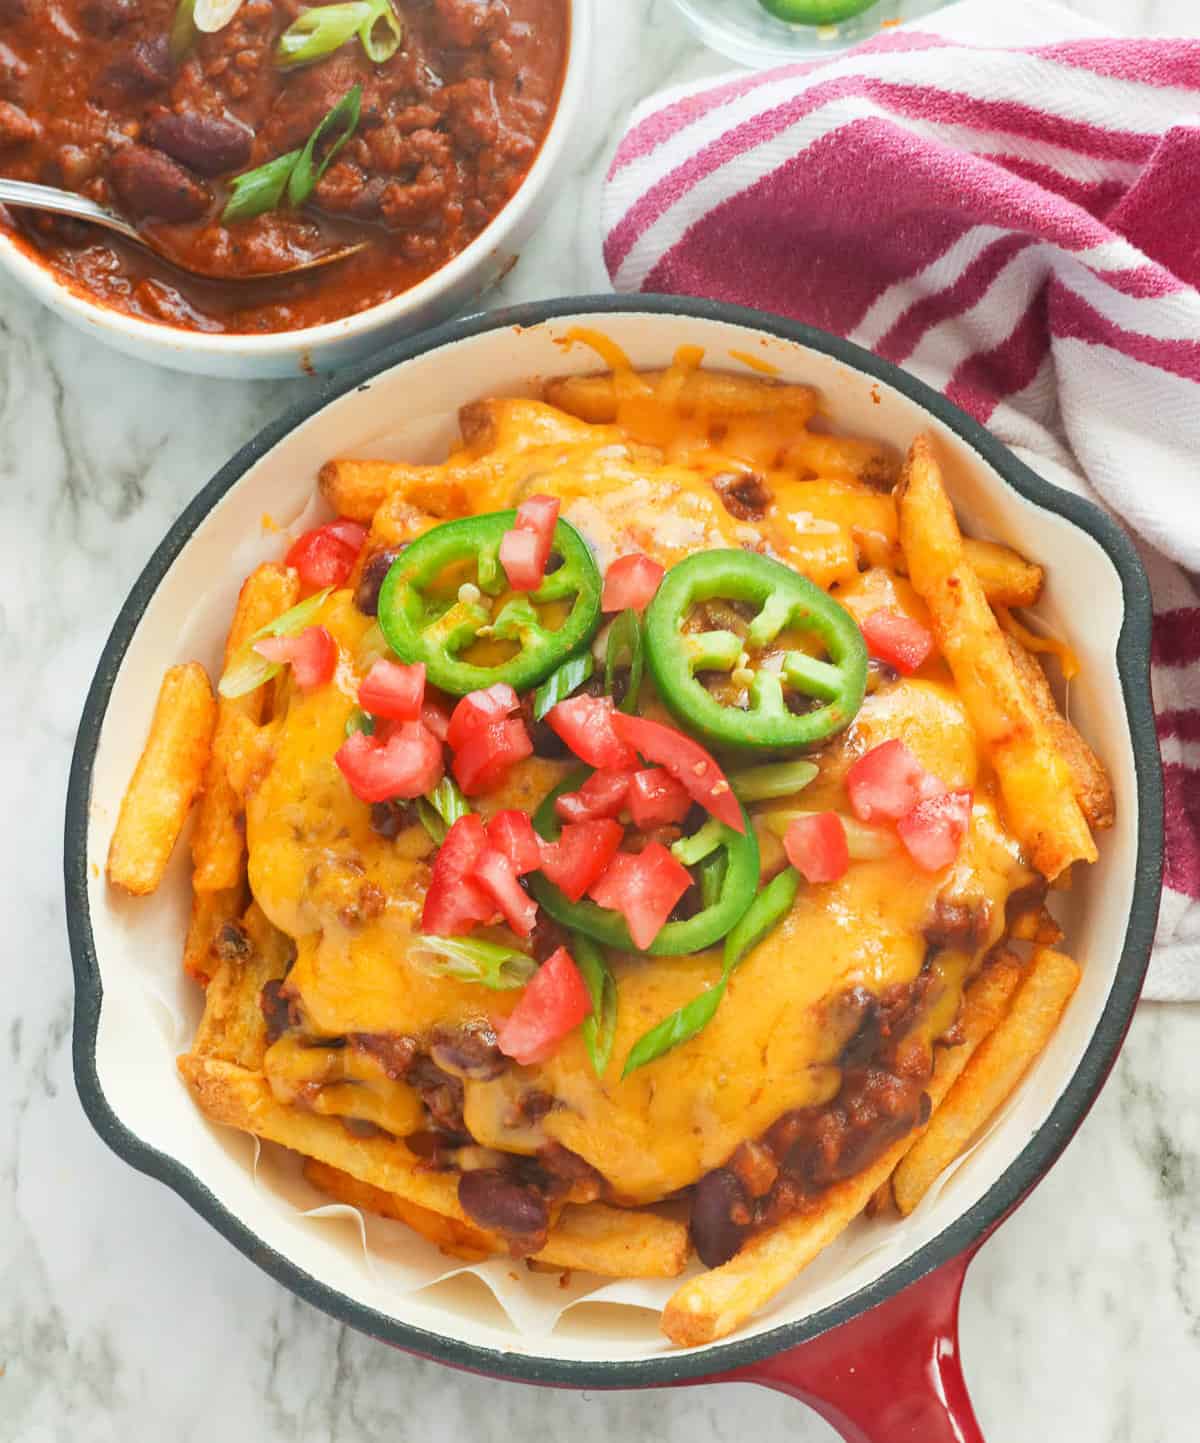
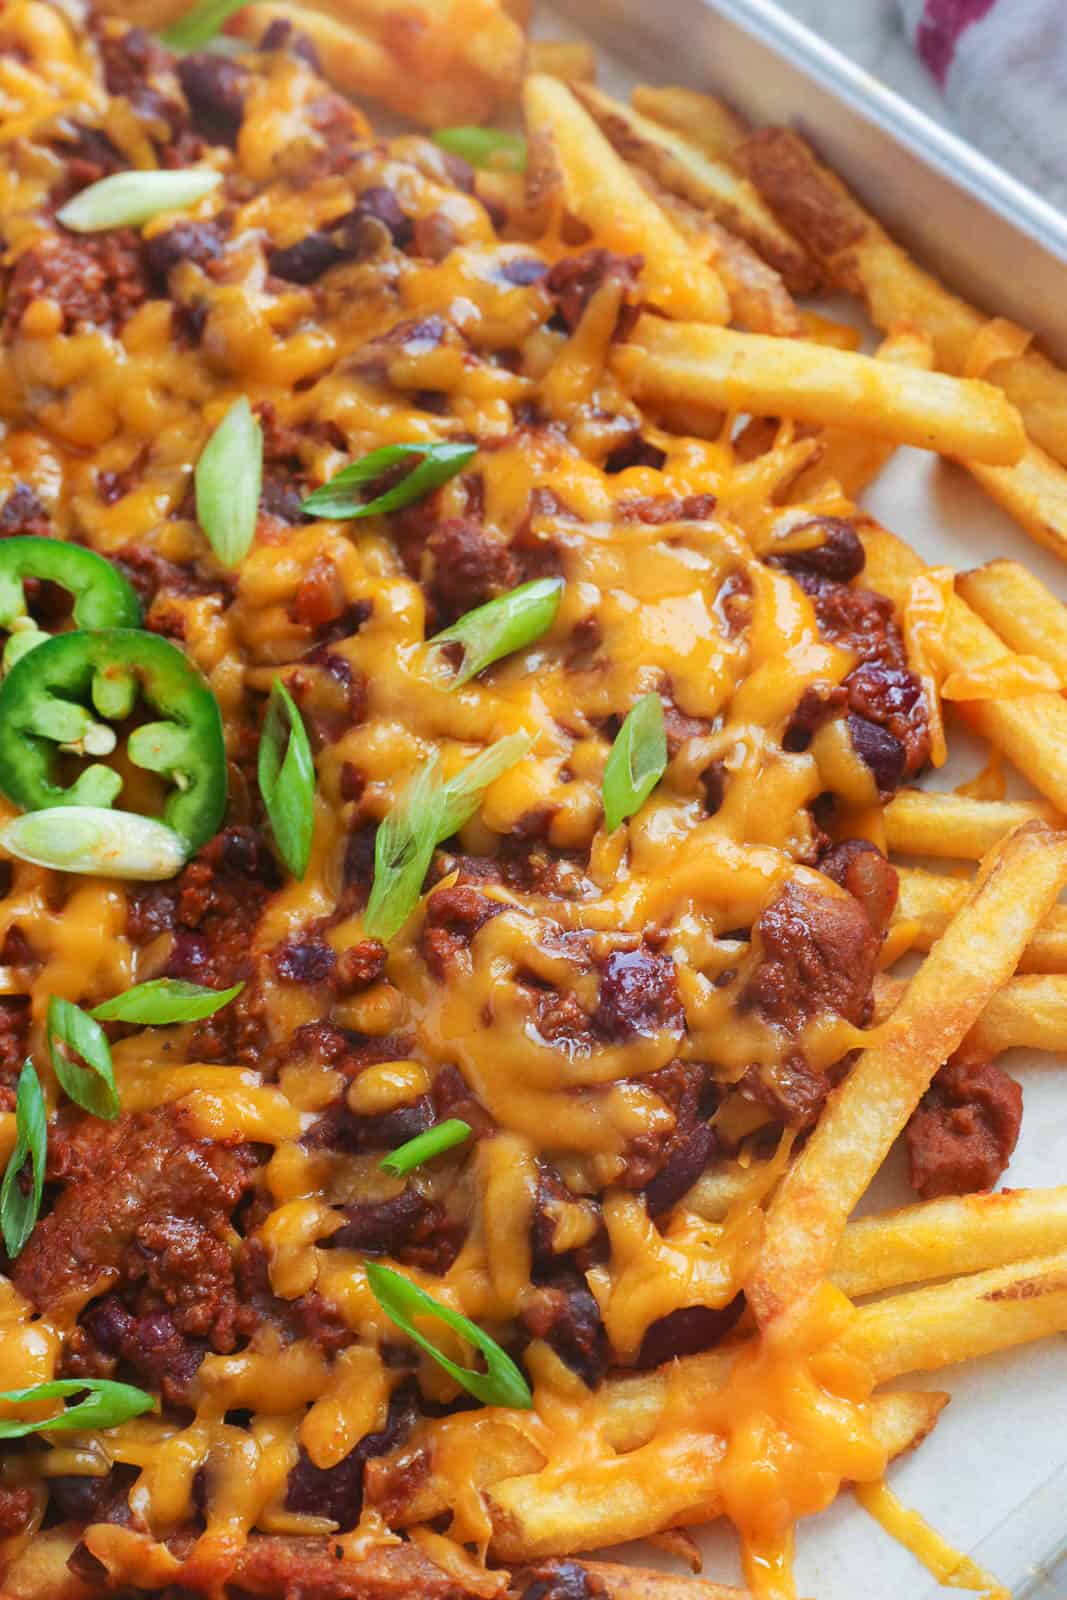
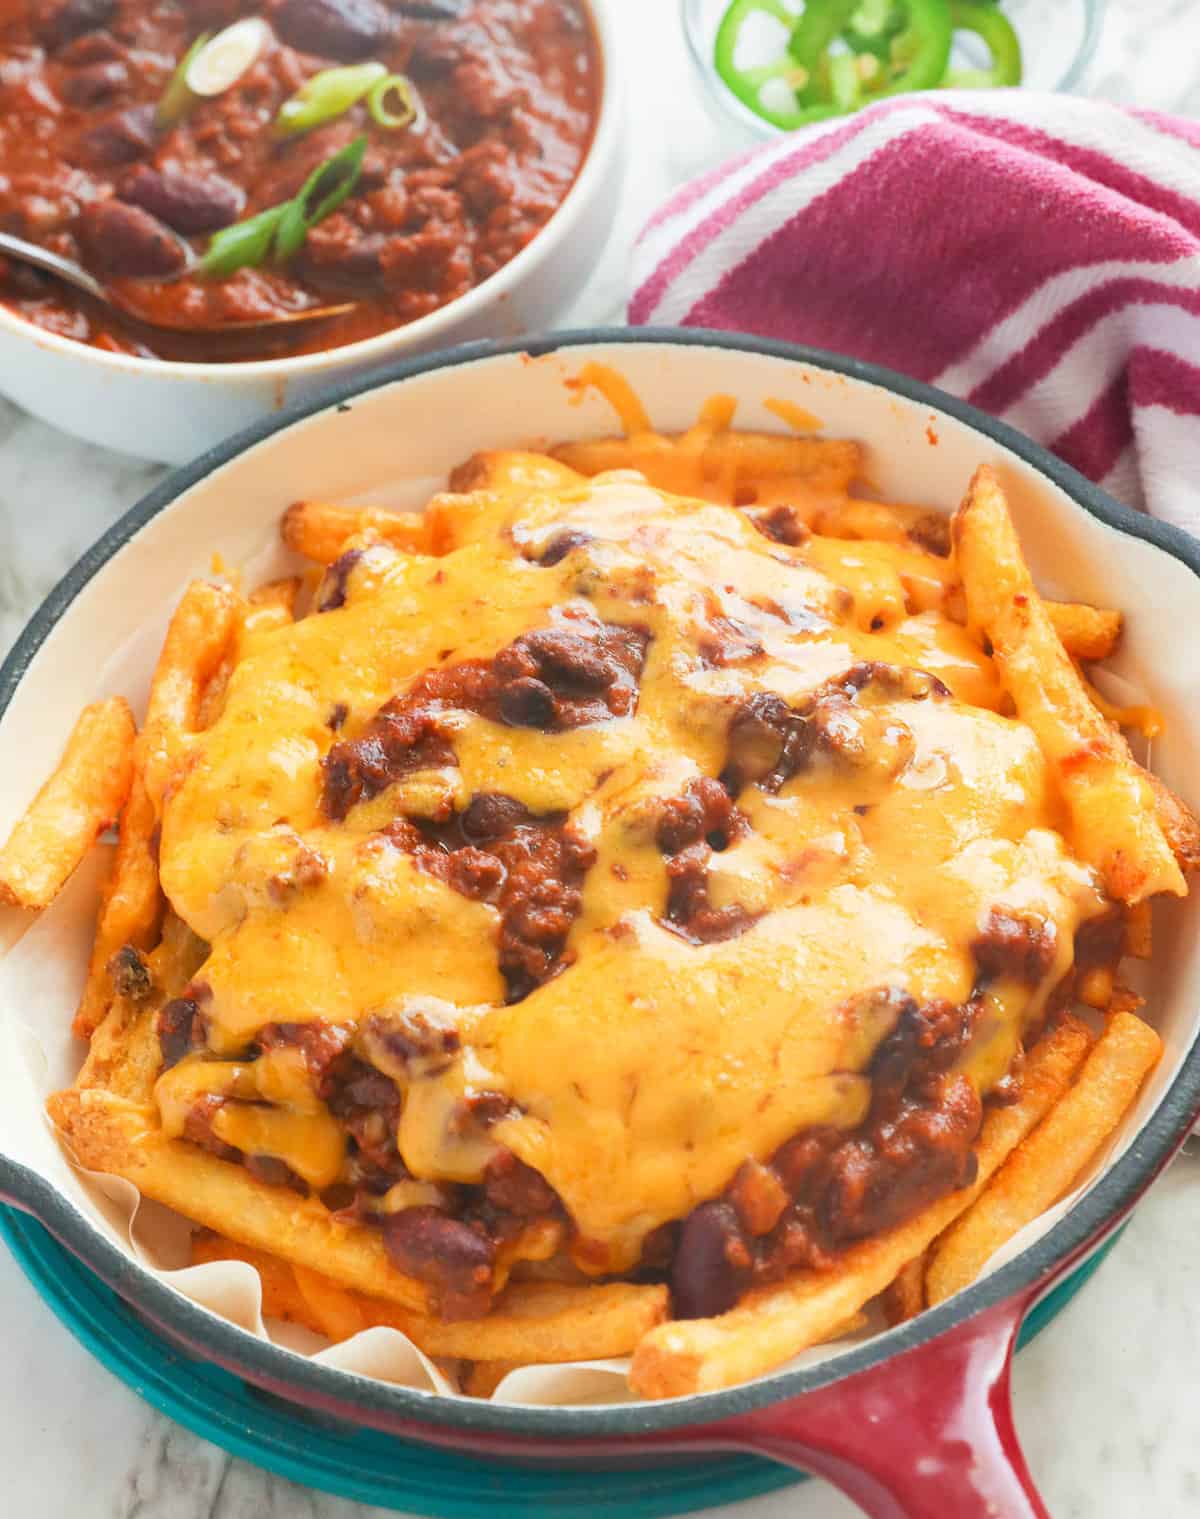
Chili Cheese Fries – Get ready for some exciting, spicy, and soul-satisfying fries! Flavorful homemade chili loaded with ground beef, beans, and spices topped with gooey melty cheese top a bed of crispy fries. A guaranteed crowd pleaser!
I’m sure you agree that the small portions restaurants serve can be disappointing. Even big servings like Chili’s Texas cheese fries still aren’t enough to satisfy. The solution? There’s nothing better than recreating your restaurant faves at home because enjoying unlimited refills is the best hack ever!
Good thing my tastebuds are sensitive to flavors. So decoding the ingredients for this copycat chili cheese fries recipe was a breeze. Woohoo! Of course, using your favorite chili recipe is a great start. 😉
Texas Chili Cheese Fries
This Texas-born classic is an incredible upgrade on basic cheese fries because of the spicy chili topping. Ground beef, beans, spices, cheese, and potatoes make for a satisfying one-dish snack (or meal if you make enough😉). While there are different stories on how it started, the most accepted is that 16-year-old Don A. Jenkins from Texas came up with this deliciousness.
Recipe Ingredients
Are you ready for the best snack ever? Because I am! So without further ado, let me share the not-so-secret recipe for fully-loaded restaurant-style chili cheese fries. 😉
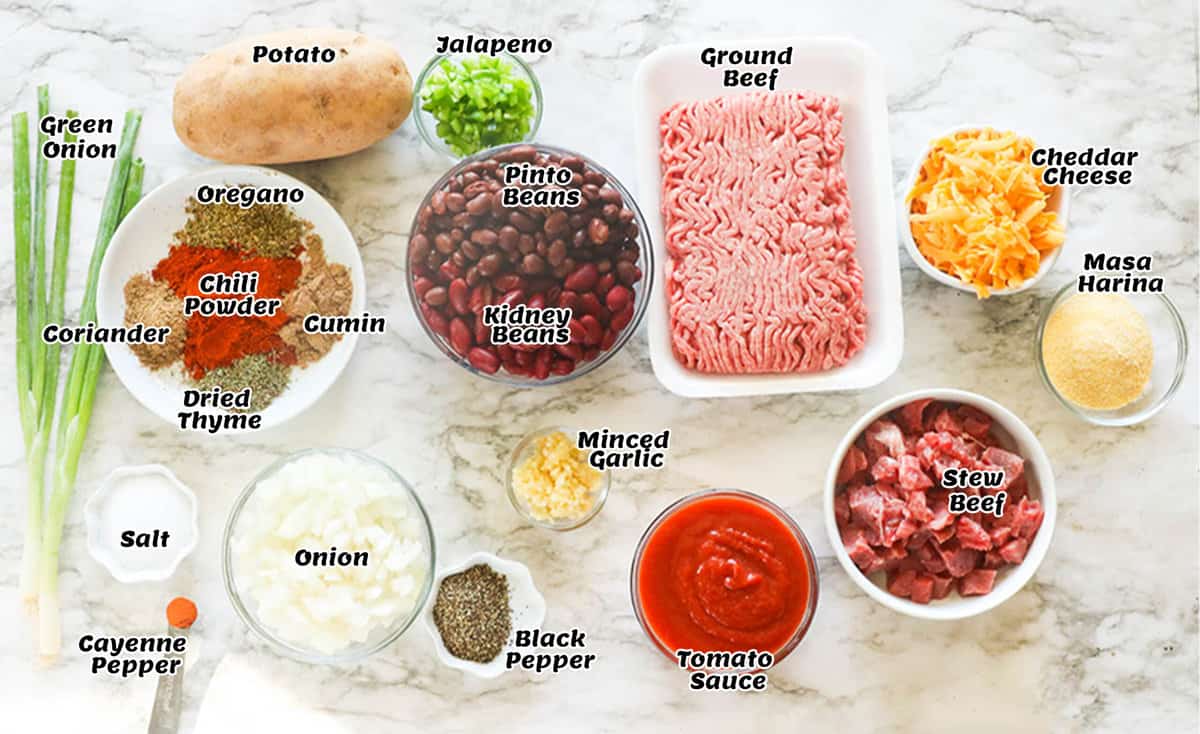
- Beef – I’m using a mix of stew beef and ground meat for this recipe because they are all about textures and flavors, baby. Although using ground beef only will work just fine.
- Seasonings – Aside from garlic and onion’s remarkable aroma and flavors, you’ll also taste a spectacular flavor explosion from various herbs and spices, such as thyme, cumin, oregano, coriander, chili powder, and chili peppers, for that iconic Mexican flair. Or use my homemade Taco seasoning here for the complete experience. Jalapenos also add a nice kick.
- Beans – Classic chili always has beans for an economical protein to stretch the beef. You can use kidney or black beans or a combination of both. Of course, you can leave them out and up the meat if you prefer.
- Base – Tomatoes and broth enhance the flavor and provide the base for all the other ingredients. You can use the same amount of roasted red peppers if you’re allergic to tomatoes.
- Thickener – Masa harina (an optional ingredient) thickens the sauce and adds a Mexican flavor. But you can omit or replace it with another thickener, like flour, potato starch, or rice flour.
- French Fries – You can use a bag of frozen waffle fries, steak, or regular fries. But you can also make your own. Seasoned fries and potato wedges also work great. The extra thin and shoestring fries may work, but they tend to get soggy faster. Any leftover potatoes can get used up in my cottage fries recipe.
- Cheese – Cheddar cheese is the best choice here because it’s tasty and melty. But you could use Jack or Colby for incredible chili cheese fries.
How to Make Chili Cheese Fries
Make the Chili
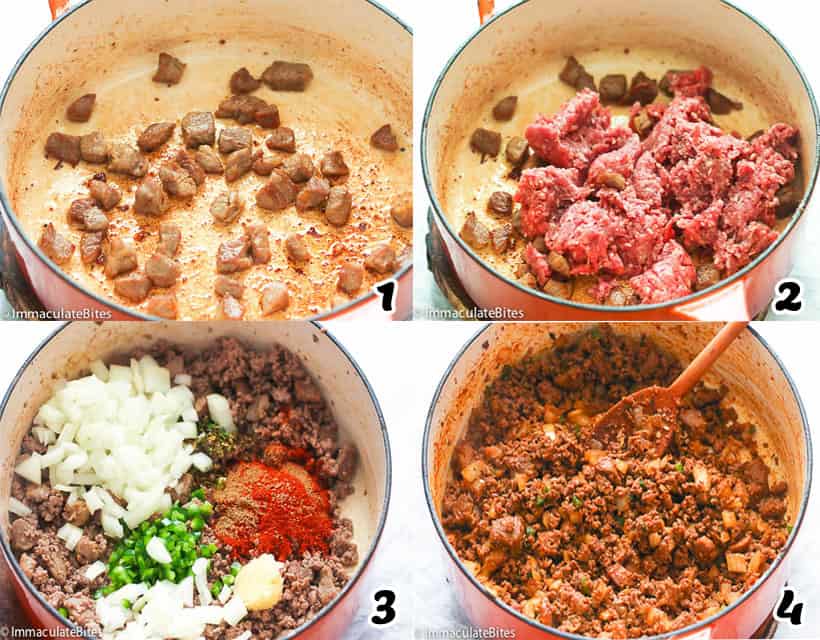
- Brown the Beef – Heat the oil in a large saucepan and brown diced beef over medium-high heat. (Photos 1-2)
- Cook – Add ground beef, breaking up the meat while stirring, and cook until no longer pink – about 6-7 minutes.
- Saute – Then toss in onions, garlic, jalapenos, chili powder, cayenne pepper, and dried thyme. Mix until thoroughly combined. Saute it for another 3-4 minutes to allow the spices to meld together. (Photos 3-4)
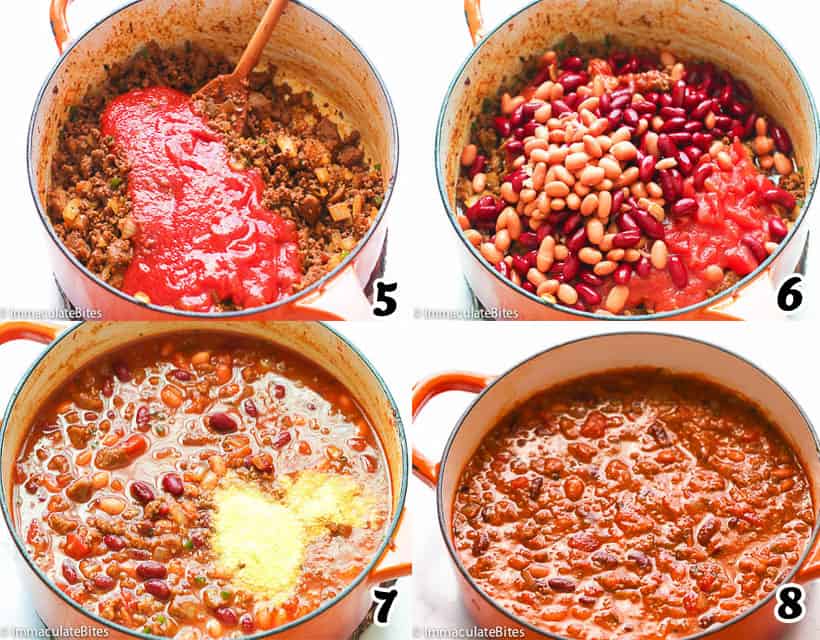
- Add the Liquids – Pour in the tomato sauce, followed by the beans and water or broth. Stir well and scrape down the sides. (Photos 5-6)
- Season and Simmer – Add the cumin, oregano, coriander, and salt. Then give it a stir and bring it to a boil over medium heat. Reduce heat and simmer for 15-20 minutes. Add water when necessary to prevent burns and to adjust for desired thickness. (Photos 7-8)
- Set Aside – Turn off the stove and remove the pot from heat.
Assembly
- Bake – Spread the potatoes in a single layer over a baking sheet. Bake the potatoes according to packaging instructions for about 14-16. Flip them once with a spatula until crispy or according to preference.
- Add the Toppings – When fries are ready, transfer them onto an oven-safe tray or pan. Top with prepared chili and sprinkle with cheese.
- Broil – in the oven for about 4-5 minutes or until cheese is melted.
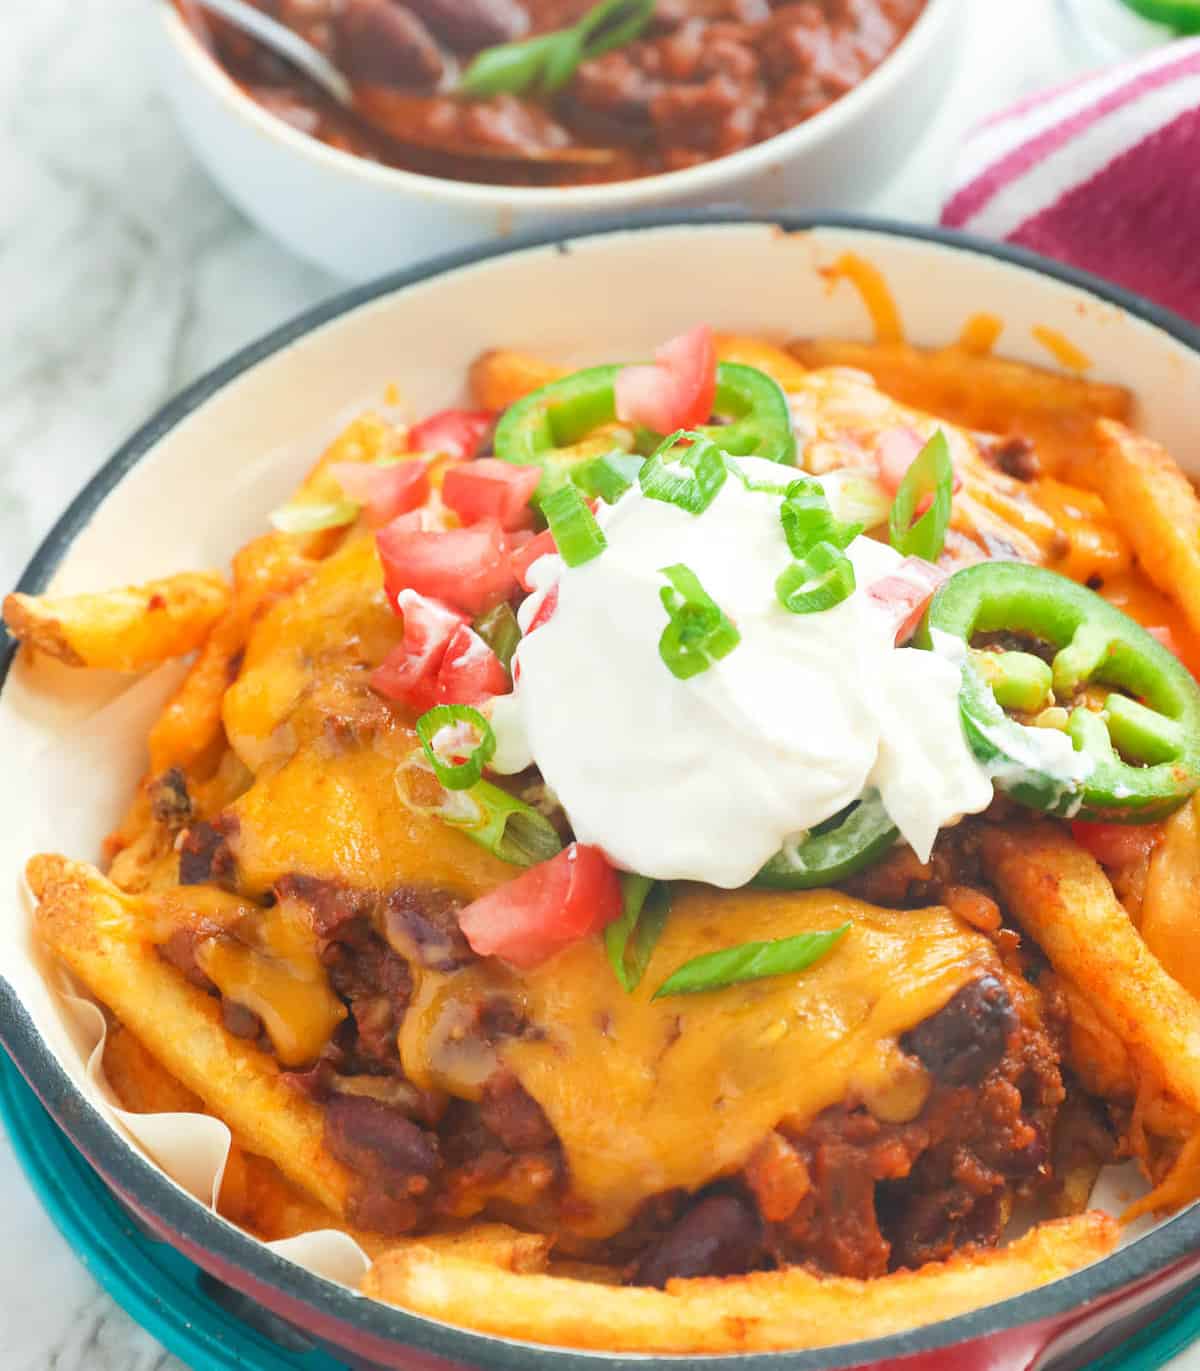
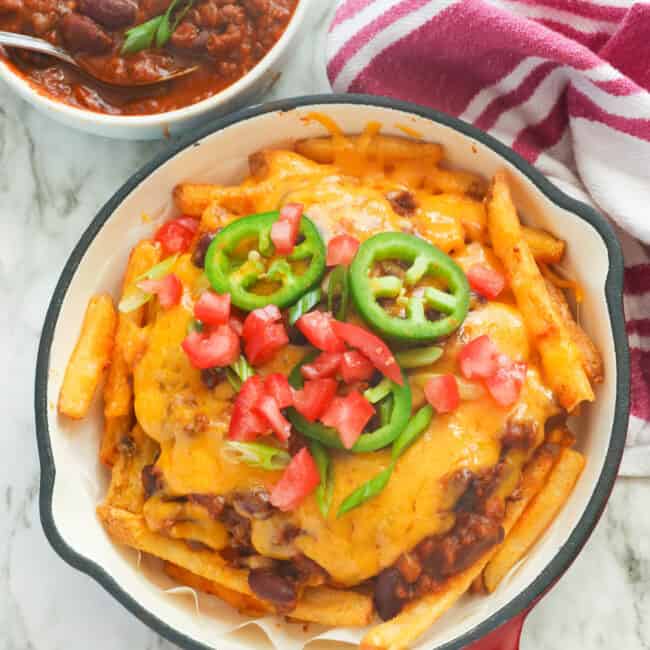
- Serve – Top with desired toppings. Serve hot. Enjoy!
Recipe Variations
- Toppings – I suggest finishing it with a dollop of sour cream for extra creamy delight. A spoonful of diced tomatoes and a sprinkling of green onions also look great as a garnish. Guacamole and salsa are excellent toppings for a fabulous Mexican fusion twist. And oh, you can’t also go wrong with crispy bacon bits. Yum!
- Potato Swap – You can also try it with sweet potato fries, plantain fries, and yuca fries. A bag of tater tots is a fantastic swap as well. 😉
- Nachos – The chili cheese topping also makes a perfect topping for homemade tortilla chips or filling for tacos and quesadillas. Yum!
- Meat Swap – You can make this recipe with ground turkey, chicken, or pork. Also, feel free to skip the cayenne, pepper flakes, and jalapeno slices to make this cheesy chili fries kid-friendly.
Tips and Tricks
- If you prefer frying the fries instead of baking them, don’t forget to drain the excess oil to keep them crispy.
- Add the chili and cheese sauce right when ready to serve to prevent the fries from being soggy.
- While it might be tempting to use pre-shredded cheddar, taking the time to shred your own cheese is so worth it. Pre-shredded cheese doesn’t usually melt as evenly.
Make-Ahead Instructions
I don’t recommend making the fries ahead of time because they get soggy. However, the chili tastes even better if you make it the day before. It keeps very well in the fridge for a couple of days. When ready to serve, reheat and serve over the fries as instructed.
Serving and Storing Instructions
These chili cheese fries are perfect for sharing. Eating these fully loaded fries with family or friends would be more fun while chatting or watching our favorite game or movie. Or not! Why share when you can have them all to yourself, right? Kidding!🤣
- Storing – I highly suggest keeping the leftover fries and chili separately, so the fries don’t get soggy. The chili will store in the fridge for 4-5 days and the fries for a couple of days. You can also freeze the chili for three months. You can freeze it in individual serving sizes for easy thawing and reheating.
- Reheating – Crisp the fries by reheating them at 350℉/177℃ for 3-5 minutes in the air fryer or 8-10 minutes in a 400℉/205℃ oven. You can also reheat them in a skillet with a little oil until their crispy again while you reheat chili on the stovetop or microwave.
FAQs
They’re spicy with distinct flavors from chili powder, cumin, and coriander. Of course, french fries and cheese knock this dish up a notch or two. This Tex-Mex specialty has all the classic spices you’d expect.
It’s a 3-part dish – chili, cheese, and fries. You serve the chili and cheese on top of a bed of crispy fries. Sliced jalapenos, tomatoes, and green onions are excellent garnishes.
Cheddar cheese is traditional because its sharp and robust flavors perfectly complement the chili. However, you can choose any meltable cheese, such as mozzarella, Monterey Jack, Gouda, provolone, or pepper jack. There are no rules in choosing the perfect cheese.
What to Serve with Chili Cheese Fries
Let’s level up the fun by pairing these fries with chili and cheese with equally delicious appetizer and snack recipes below.
More Drool-Worthy Fry Dip Recipes to Try
Conclusion
Chili is an incredibly versatile dish, be it on its own, as a filling, a topping, or to ramp up your ordinary mac and cheese or a stew. What is your favorite way to serve chili? Let me know in the comments below.❤️
Watch How to Make It
[adthrive-in-post-video-player video-id=”BzlDOits” upload-date=”2022-09-27T15:42:53.000Z” name=”CHILLI CHEESE FRIES 2.mp4″ description=”Chili Cheese Fries are exciting, spicy, and soul-satisfying with flavorful homemade chili and gooey melty cheese topping crispy fries. A guaranteed crowd pleaser!” player-type=”collapse” override-embed=”false”]

