Shrimp Fettuccine Recipe
Shrimp Fettuccine – This mouthwatering meal whips up in under 30 minutes, making it a weeknight dinner winner! All those classic shrimp fettuccine flavors, plus bacon bits, deliver next-level deliciousness. 🤤
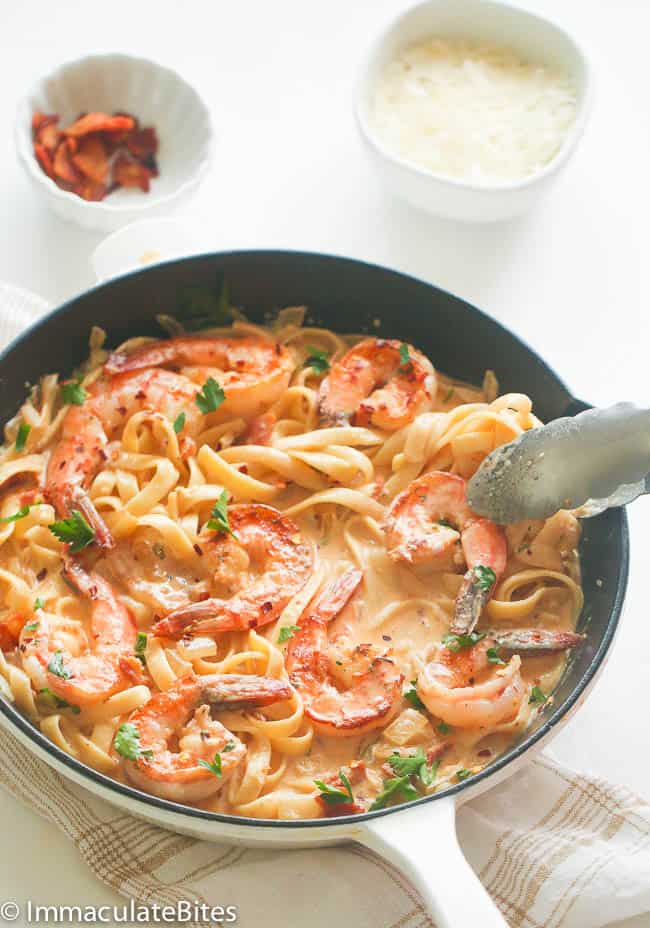
Pasta and shrimp with a lemony, garlicky sauce? It’s hard to go wrong with this one. Shrimp fettuccine is one of those go-to meals that even your kids will love. Honestly, you won’t have to remind anyone to “take another bite, please.” 😜
Did I mention it’s ridiculously easy to make? Under 30 minutes is not an exaggeration. This meal goes from kitchen to plate in a flash, perfect for you busy mamas. 🫶🏿
Content…Scampi vs. Alfredo |

Shrimp Fettuccine Scampi vs. Shrimp Fettuccine Alfredo
This shrimp fettuccine recipe features fettuccine pasta and shrimp with a delicious scampi sauce. The lemony, garlic sauce is outstanding but enjoys butter instead of cream. On the other hand, Alfredo sauce features cream and parmesan cheese.
Both sauces are amazing and versatile. With pasta and sauce, you have a savory canvas to add vegetables, meats, and even beans for an incredible one-dish meal. Broccoli, red bell peppers, and spinach with shrimp and chicken make my family ecstatic.
Recipe Ingredients
- Pasta – Fettuccine pasta gives this dish its name, but technically, you could use any pasta you like.
- Bacon – Crisp, salty bacon is optional here…but should it be? 🥓
- Veggies – Onion, tomato, as well as fresh garlic and parsley, add flavor and color to this gorgeous dish.
- Chicken Broth – This pantry staple makes the dish saucy and flavorful. Feel free to sub a portion of the broth for dry white wine, though! Then toss in some freshly grated Parmesan.
- Lemon & Butter – Because shrimp loves a good lemony butter bath.
- Shrimp – Just about a pound of fresh or frozen shrimp will do for this recipe. Peel and devein it, or buy it already cleaned to save yourself some time. Wild-caught shrimp is amazing if you can find and afford it.
How to Make Shrimp Scampi Fettuccine

- Pasta – Boil pasta in a large pot according to package instructions. Drain and set aside.
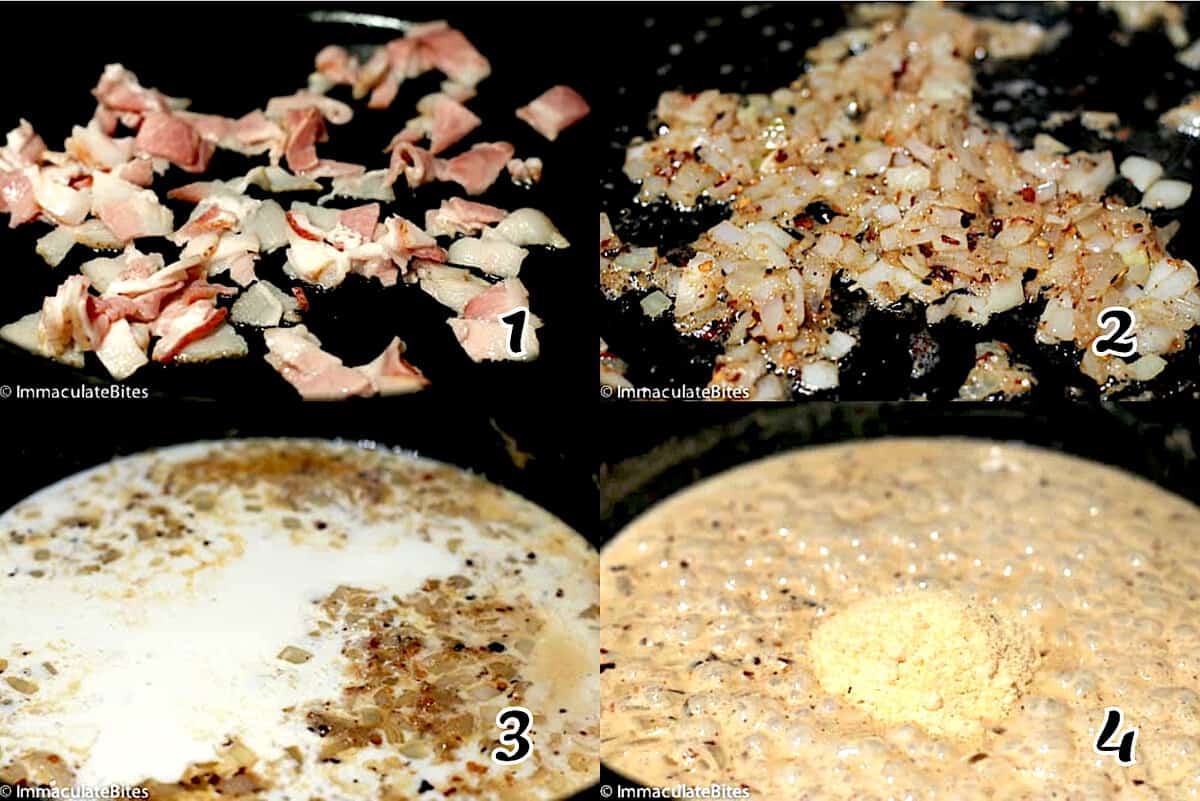
- Bacon – Heat a large skillet over medium heat and fry bacon until brown and crisp. That may take 3-5 minutes. Transfer the bacon to a plate. (Photos 1-2)
- Butter – There should be 1-2 tablespoons of bacon drippings left in the pan; remove excess. Melt a tablespoon of butter with the reserved bacon grease.
- Saute – Add the onions, garlic, tomatoes, and pepper flakes. Satue for a couple of minutes, stirring occasionally to prevent burning.
- Sauce – Pour in chicken stock, parsley, and lemon juice, and stir until combined. Simmer a few extra minutes if needed to thicken the sauce. Add the Parmesan cheese, and stir will until it melts. (Photos 3-4)
- Cook Shrimp – Add shrimp and continue cooking the sauce for 3-5 minutes or until the shrimp is bright pink and begins to curl.
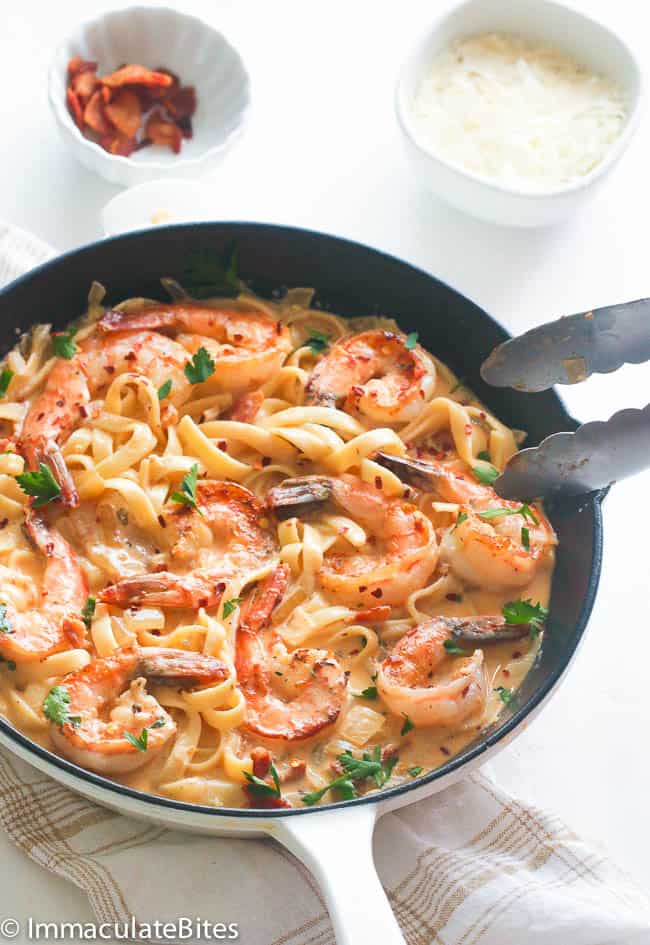
- Assemble – Add the cooked pasta and bacon bits, and toss all the ingredients together. (Photos 5-6)
- Serve – Turn off the heat and let the pasta soak up some of the sauce. Garnish with lemon wedges and fresh parsley. Enjoy!
Ingredient Swaps
- Add veggies. Incorporate vegetables like spinach, cherry tomatoes, asparagus, bell peppers, zucchini, or broccoli for added nutrition and texture.
- Health-conscious. Use whole wheat or gluten-free fettuccine to fit your dietary needs. Zucchini noodles are another healthy gluten-free option.
- More decadent sauce. For a more decadent, creamier texture, stir in heavy cream, half-and-half, or cream cheese. Grated Parmesan or Pecorino Romano also enhances the flavor and makes the sauce more velvety.
- Add more protein. Chicken and shrimp fettuccine is even more delicious.
- Using garlic butter instead of plain butter creates a fantastic garlic butter shrimp.
Recipe Notes
- Avoid overcooking the shrimp because it cooks quickly (2-3 minutes per side). They’ll turn pink and opaque when done. Overcooked shrimp can become tough and rubbery.
- Fresh lemon juice offers the best flavor. Bottled lemon juice can taste artificial and less vibrant. 🍋
- Cook the fettuccine al dente (slightly firm to the bite) according to the package instructions. It continues to cook slightly when mixed with the sauce.
- Stir in a tablespoon of butter at the end to emulsify the sauce more thoroughly. Plus, more butter is always better. Drizzling it with extra virgin olive oil after plating is also pure yum.
Make-Ahead & Storage Instructions
Shrimp fettuccine reheats well, making it a perfect make-ahead dish. After it cools, store it in the fridge for 3-5 days. To reheat shrimp fettuccine, pop it in the microwave or reheat it on the stovetop. If you reheat on the stove, a splash of chicken broth will keep it from sticking to the pan.
What Goes With Shrimp Fettuccine
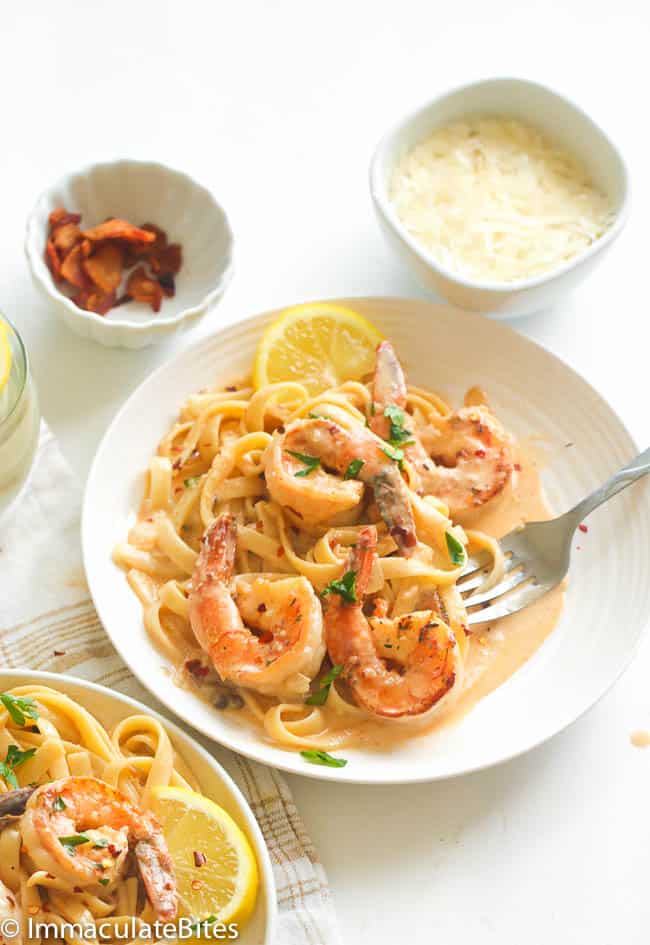
Try shrimp fettuccine with a Caesar salad and some homemade garlic bread. It also pairs well with parmesan-crusted asparagus if you want to add extra vegetables to the menu. For dessert, serve a citrusy lemon tart. 😋
More Sensational Shrimp Recipes to Try
By Imma
This blog post was originally published in November 2013 and has been updated with additional tips and beautiful photos

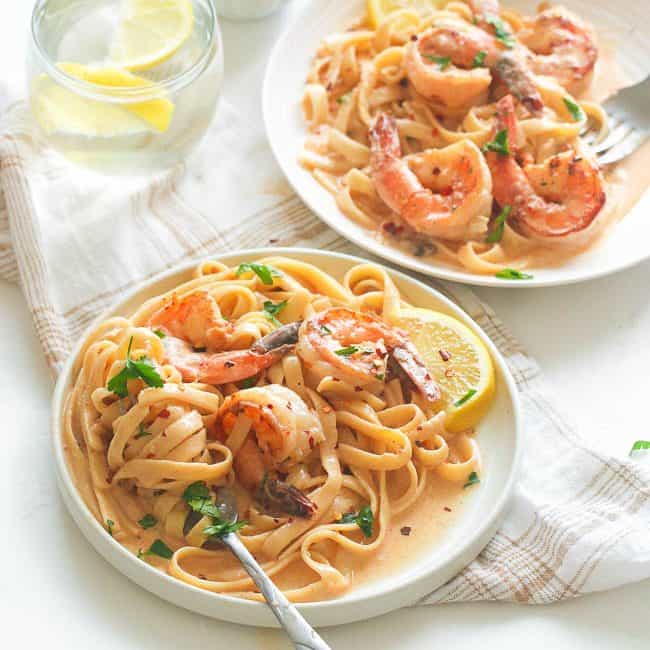

Shrimp Fettuccine with bacon bits? Yes, please! Ready in under 30 minutes, it’s the perfect weeknight dinner packed with flavor. Definitely a next-level dish!
I am so happy you loved it :)! Thank you for the feedback!
You and your sister are geniuses!!! Celebrated my baby’s second birthday and made this, she LOVED IT! All 5 kids and my pasta hating husband agree it’s amazing!! Thanks!!
Glad to hear it was a heat with you and your family!
Hey Immaculate, love your work. Going through your website makes me love the art of cooking more and more. My husband totally loves this dish. Made it for him quite a few times and it is delicious. Keep up the good work.
Ak- thank you so much for saying this. Knowing that I can actually making someone love cooking is a delight.Happy to hear your husband enjoy this creamy bacon fettuccine shrimp scampi as much as I do.
Thanks kelsey, recipe upgraded!