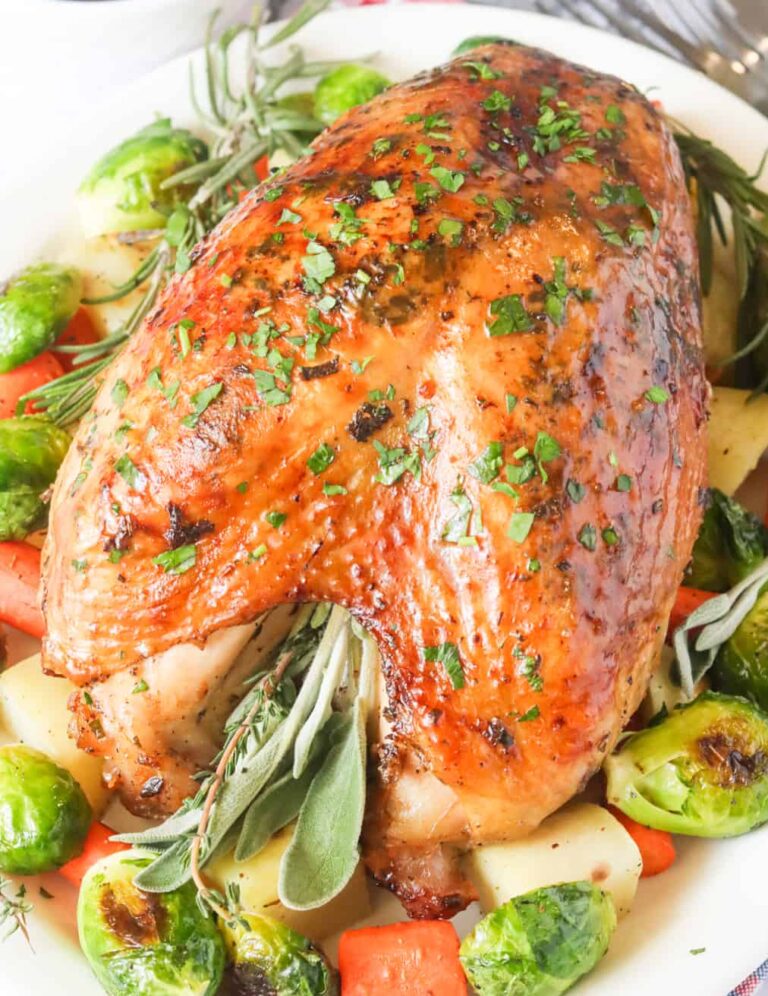
Deep Fried Turkey Recipe
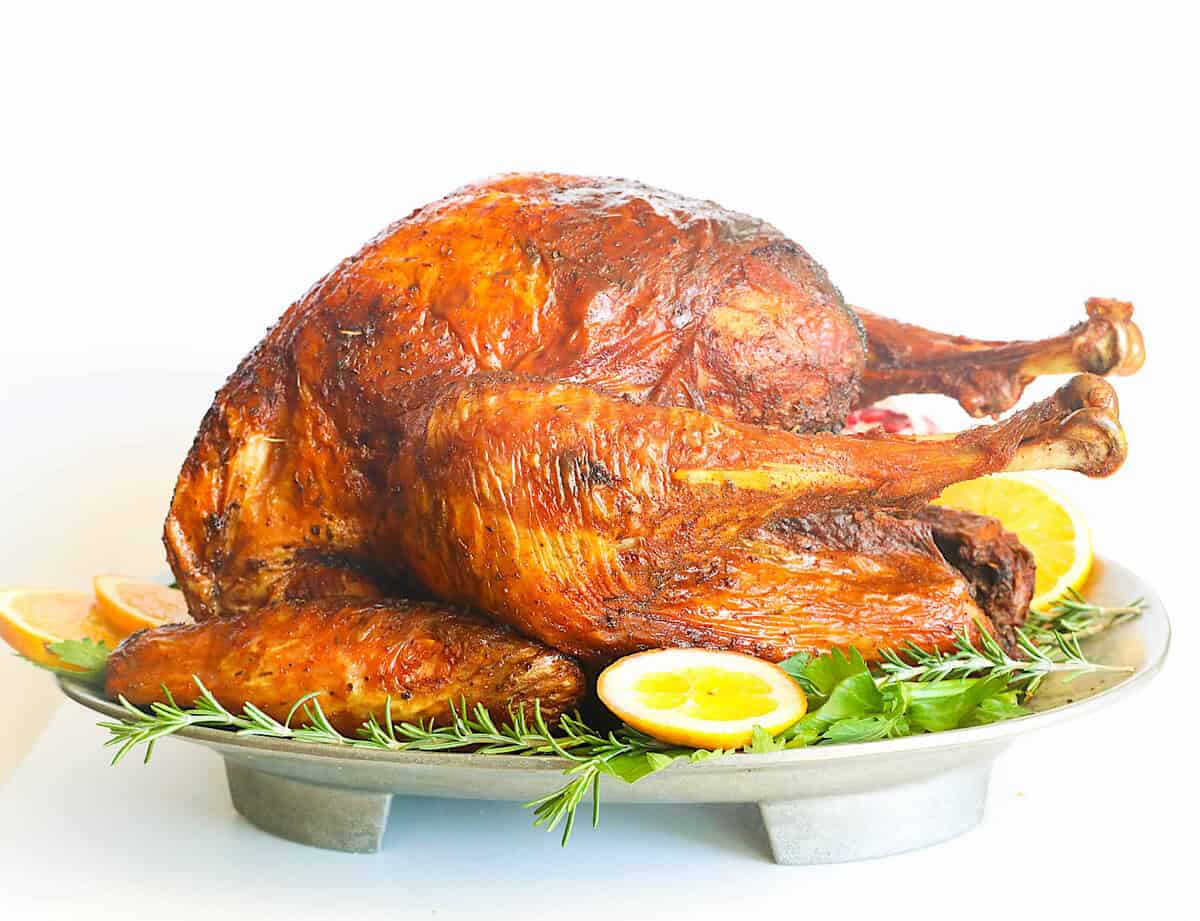
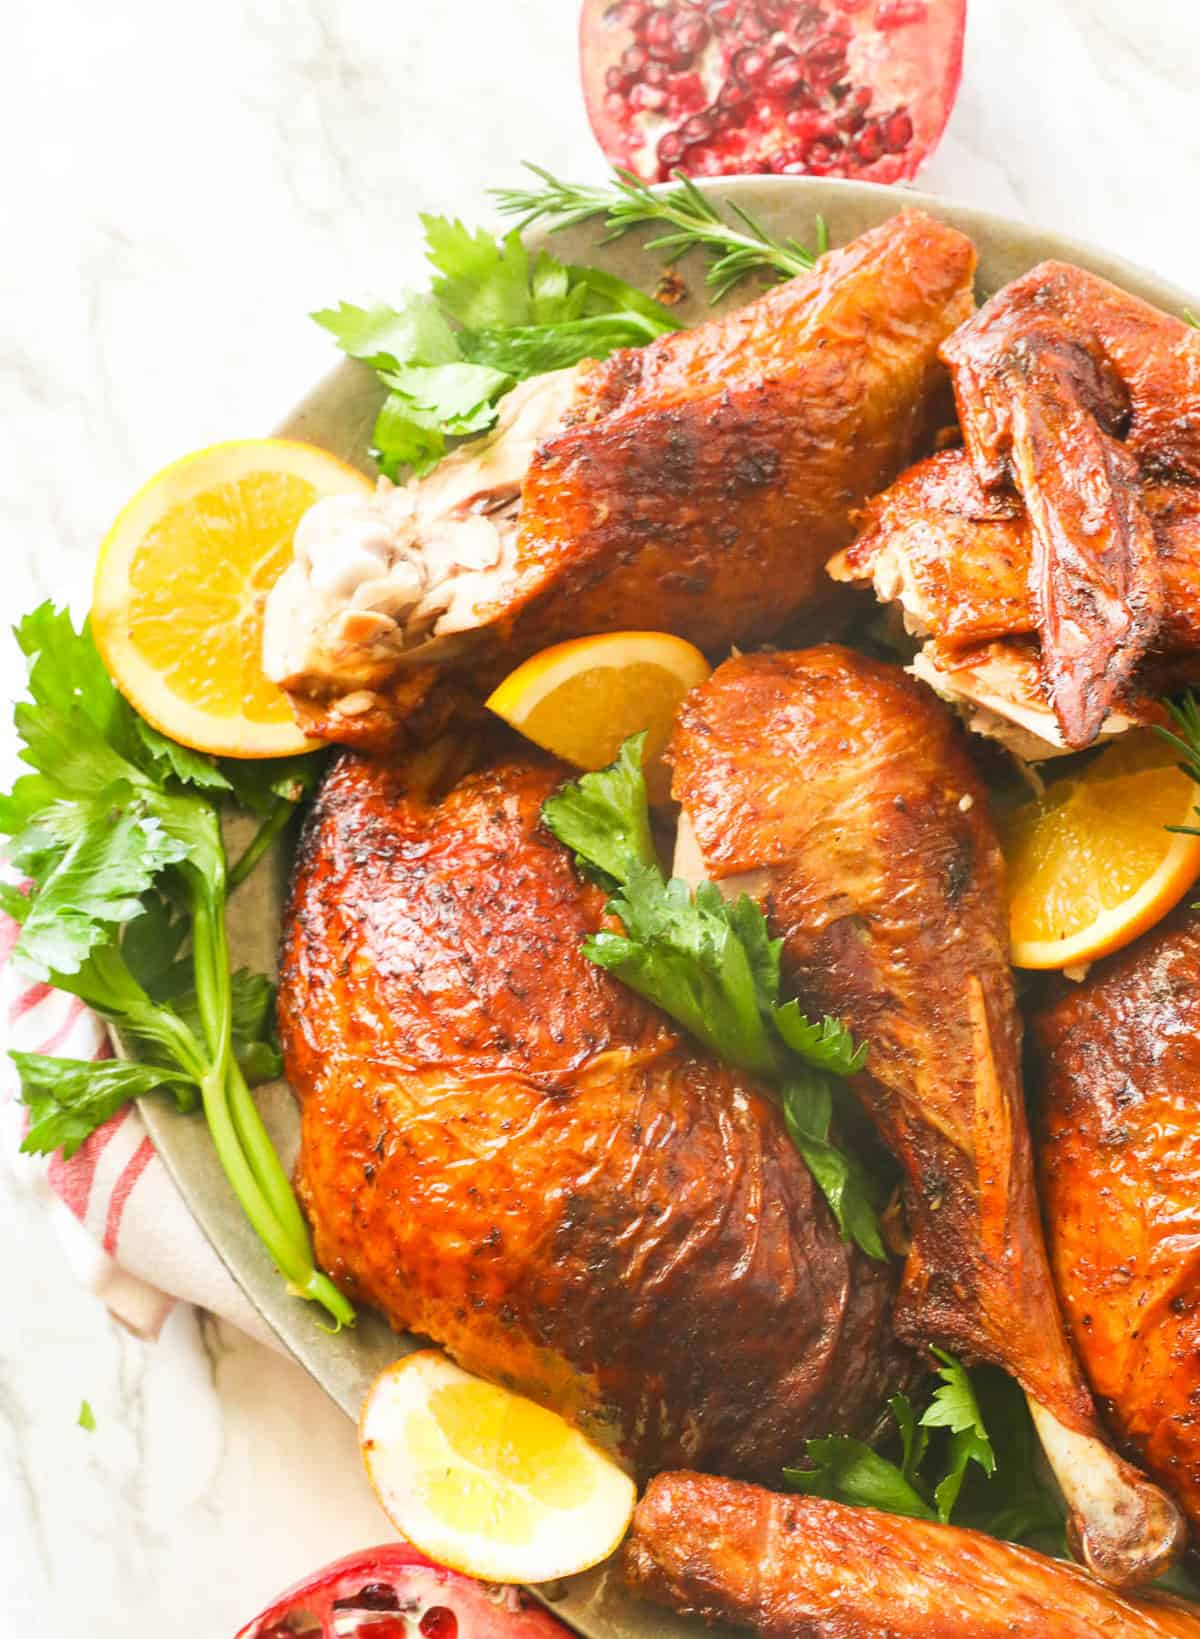
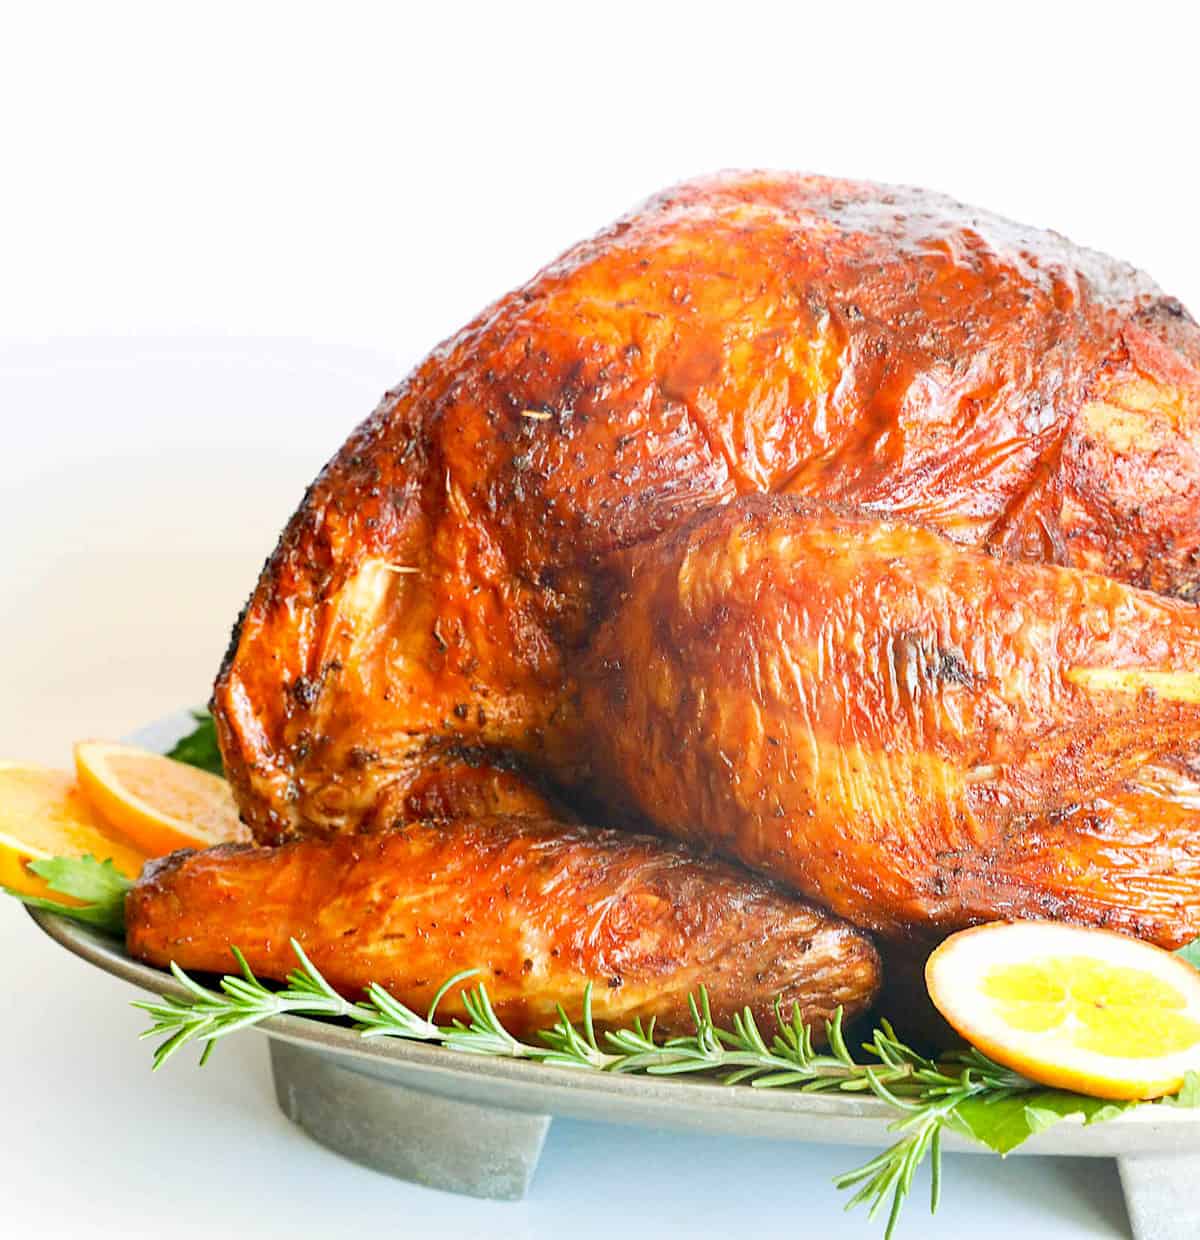
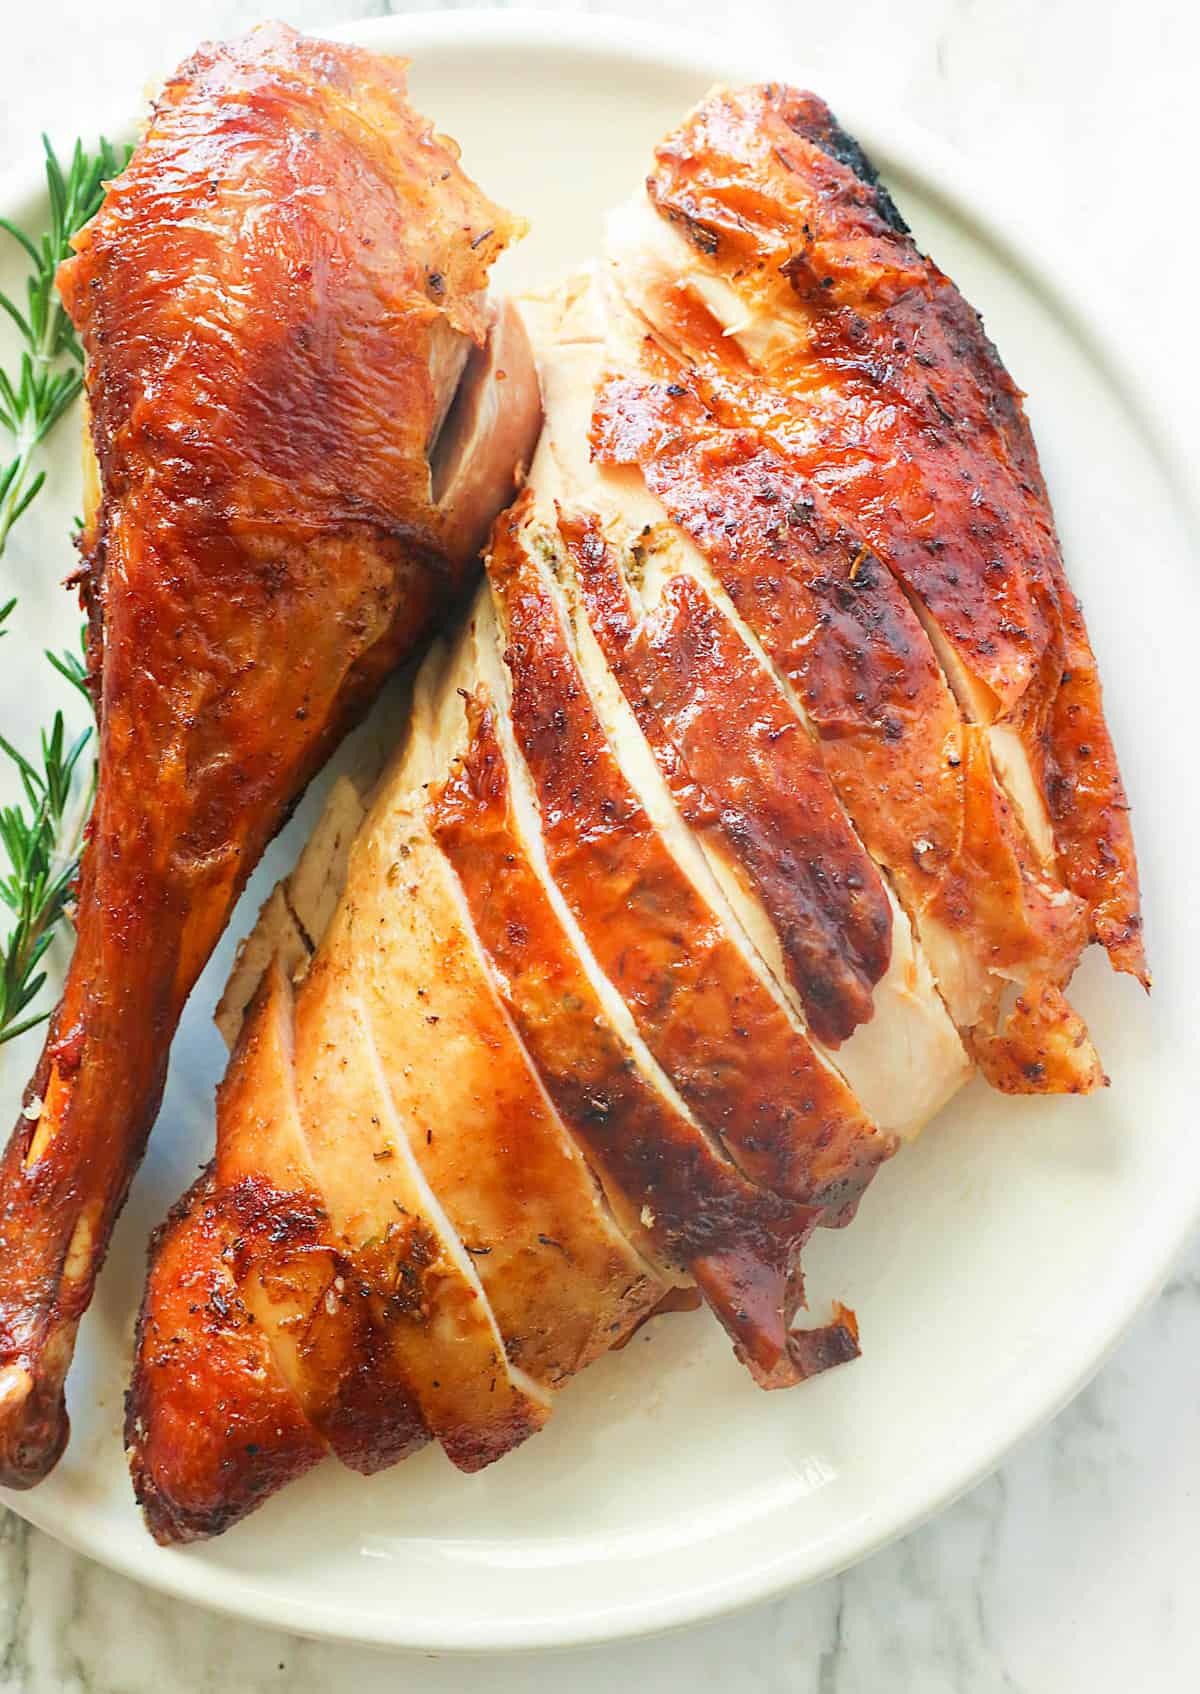
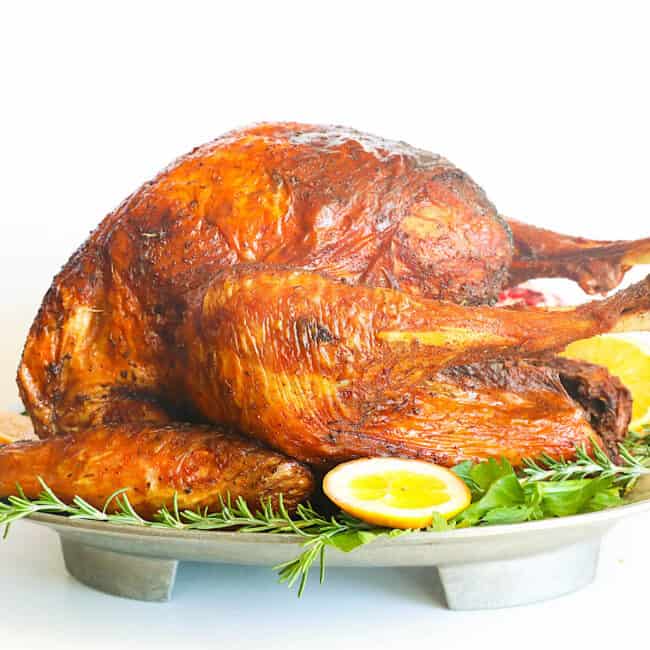
Deep Fried Turkey Recipe – Crispy, brown skin and the juiciest, most flavorful turkey meat you’ve ever tasted are what you can expect from this spectacularly delicious recipe. Call the family and tell them to come over for a cookout this weekend because this tasty bird is for sharing! 🤤
If you envision grease fires, oil splatters, and third-degree burns right now, you aren’t alone. Many people are intimidated by deep frying, well, anything. But let me take a moment to assure you that deep frying a turkey with the right equipment and a few basic safety precautions is safe and easy.
I should warn you before starting: Once you’ve learned to deep-fry your turkey, you’ll be hooked. You may never bake that bird ever again. From holiday dinners and tailgating at sporting events to meal prepping for the week, deep frying is now my go-to turkey cooking method.
Content…The Key to Flavor |
The Key to a Flavorful Deep-Fried Turkey
I’ve fried a few turkeys in my time, and after quite a bit of experimenting, I now know what it takes to turn bland white turkey meat into a tender, flavorful meal that’s hard to forget. The secret lies in rubbing and marinating, so please do both, my friend!
The perfect flavors come from injecting marinade into the turkey, rubbing it down with your favorite seasoning blend, and then letting those flavors marinate for 48 hours. Prep work pays off big time, so don’t skip it if you want a turkey that packs a flavor punch.
Recipe Ingredients
- Turkey – You’ll need a big bird for this one. Try to get a 12-14 pounder and remove the neck and giblets. If frozen, make sure it’s completely thawed.
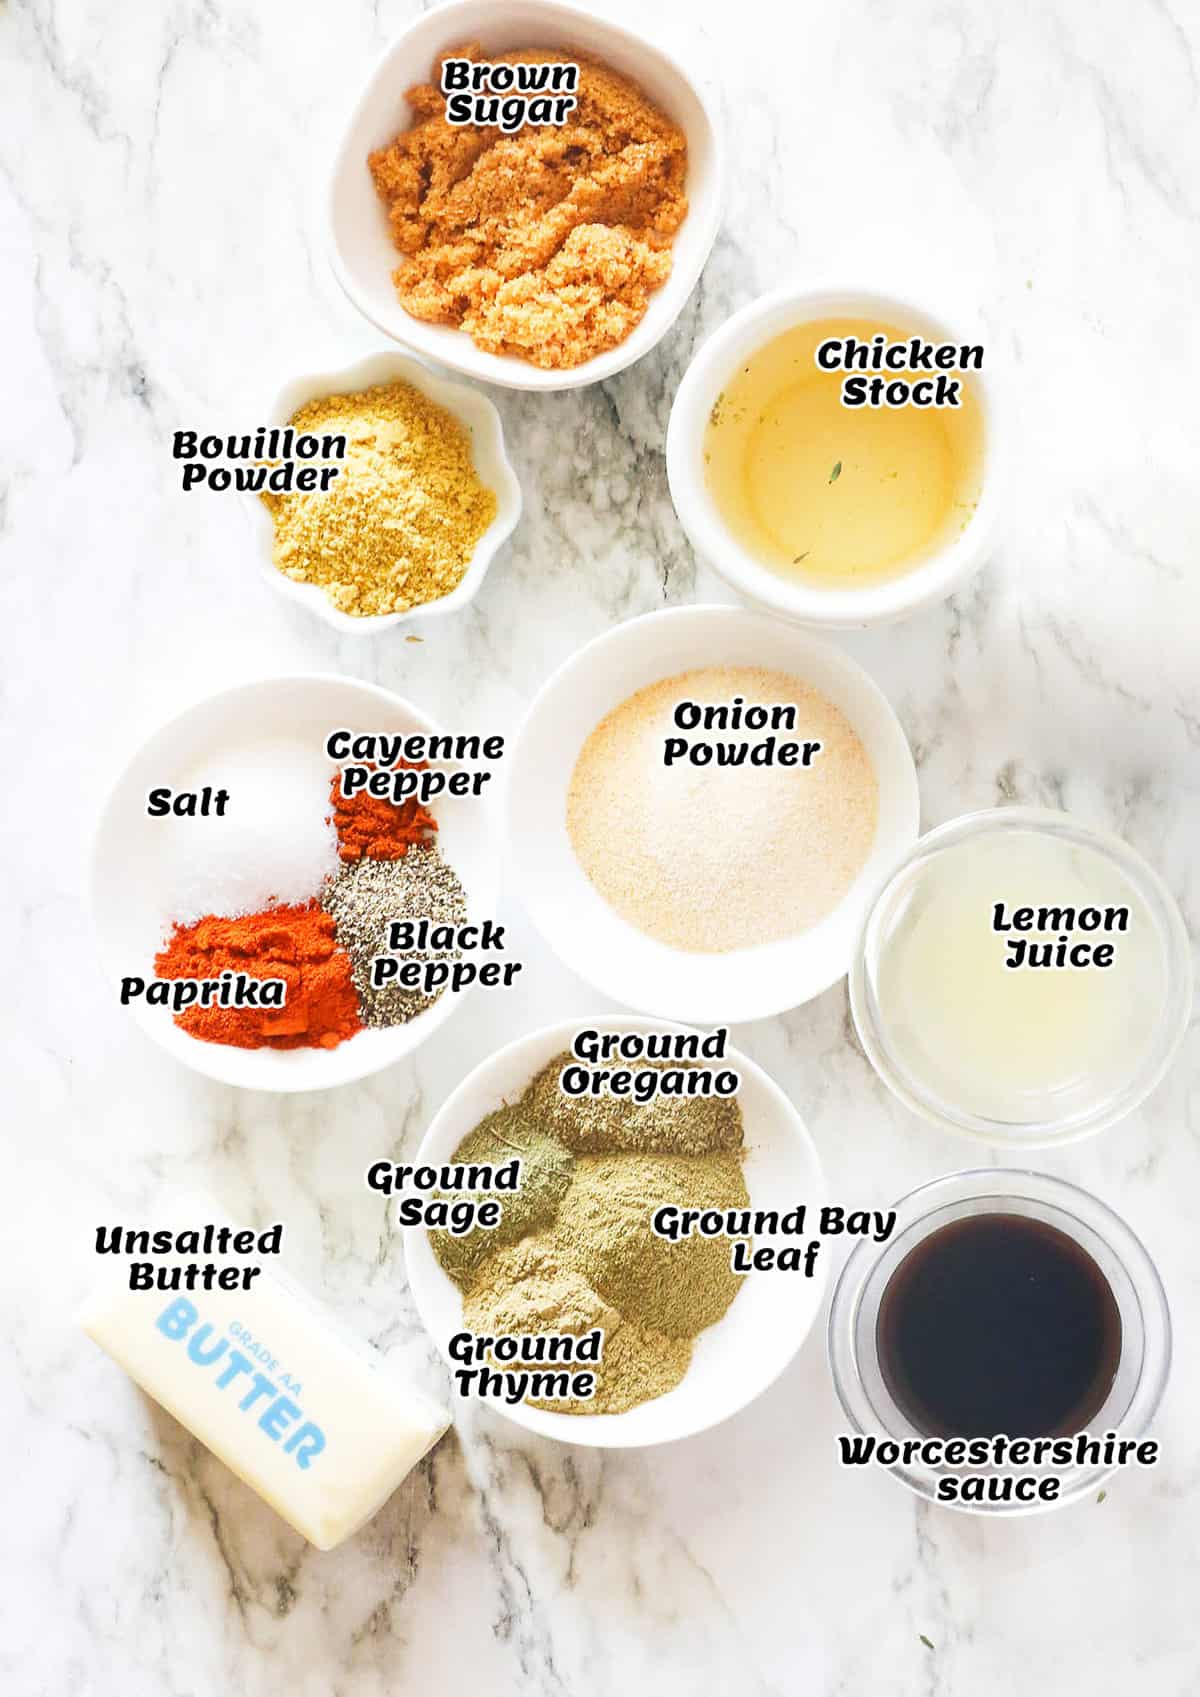
- Turkey Seasoning – I like using my homemade poultry seasoning, but you can use whatever seasoning mix is your favorite.
- Turkey Marinade – A homemade turkey injector marinade you inject into the turkey offers maximum flavor here, but feel free to use a store-bought version if you’d like.
- Oil – Canola or peanut oil are my oils of choice. If you’ve been around the blog, you already know why: it’s for their neutral flavors and high smoke points.
How to Deep Fry a Turkey
Season and Marinate Turkey
- Heat – Add the butter, chicken stock, lemon juice, Worcestershire sauce, brown sugar, onion and garlic powder, thyme, oregano, sage, chicken bouillon powder, black pepper, cayenne pepper, and salt to a medium saucepan.
- Melt – Place over medium-high heat and stir until the butter completely melts.
- Cool – Remove the marinade from the heat and let it cool for 8-10 minutes.
- Load the Injector – Pat the turkey dry using paper towels before you begin. Using a meat injector or a large syringe, draw in the marinade to fill up the syringe. Release any excess air from the injector before you begin. 💉
- Inject – Carefully inject a small amount of the marinade into different parts of the turkey.
- Season with turkey seasoning inside and out under the cavities of the turkey.
- Marinate – Let the turkey rest in the fridge for up to 48 hours.
Deep Fry Your Turkey
- Measure for Oil – Place the turkey in an airtight bag if you’ve already seasoned it inside the deep fryer. Add enough cold water to barely cover the turkey. We don’t fill the turkey fryer to the top of the pot. Make sure you respect the max fill line or at least leave a couple of inches between the water and the top of the fryer.
- Remove the turkey. Then, measure the water or put a mark on the outside of the pot. That is how much oil you’ll need to deep fry the turkey. Pat the turkey dry.
- Dry the fryer out thoroughly before adding the oil.
- Set Up – When ready to fry, set up the fryer kit outside in an open area on a sturdy, flat surface.
- Add Oil – Fill the turkey fryer with vegetable oil, and follow the manufacturer’s instructions on lighting the fryer.
- Watch – Use a deep-fry thermometer to carefully monitor oil temperature; it usually comes with the deep fryer kit. Heat the oil to 375℉/190℃.
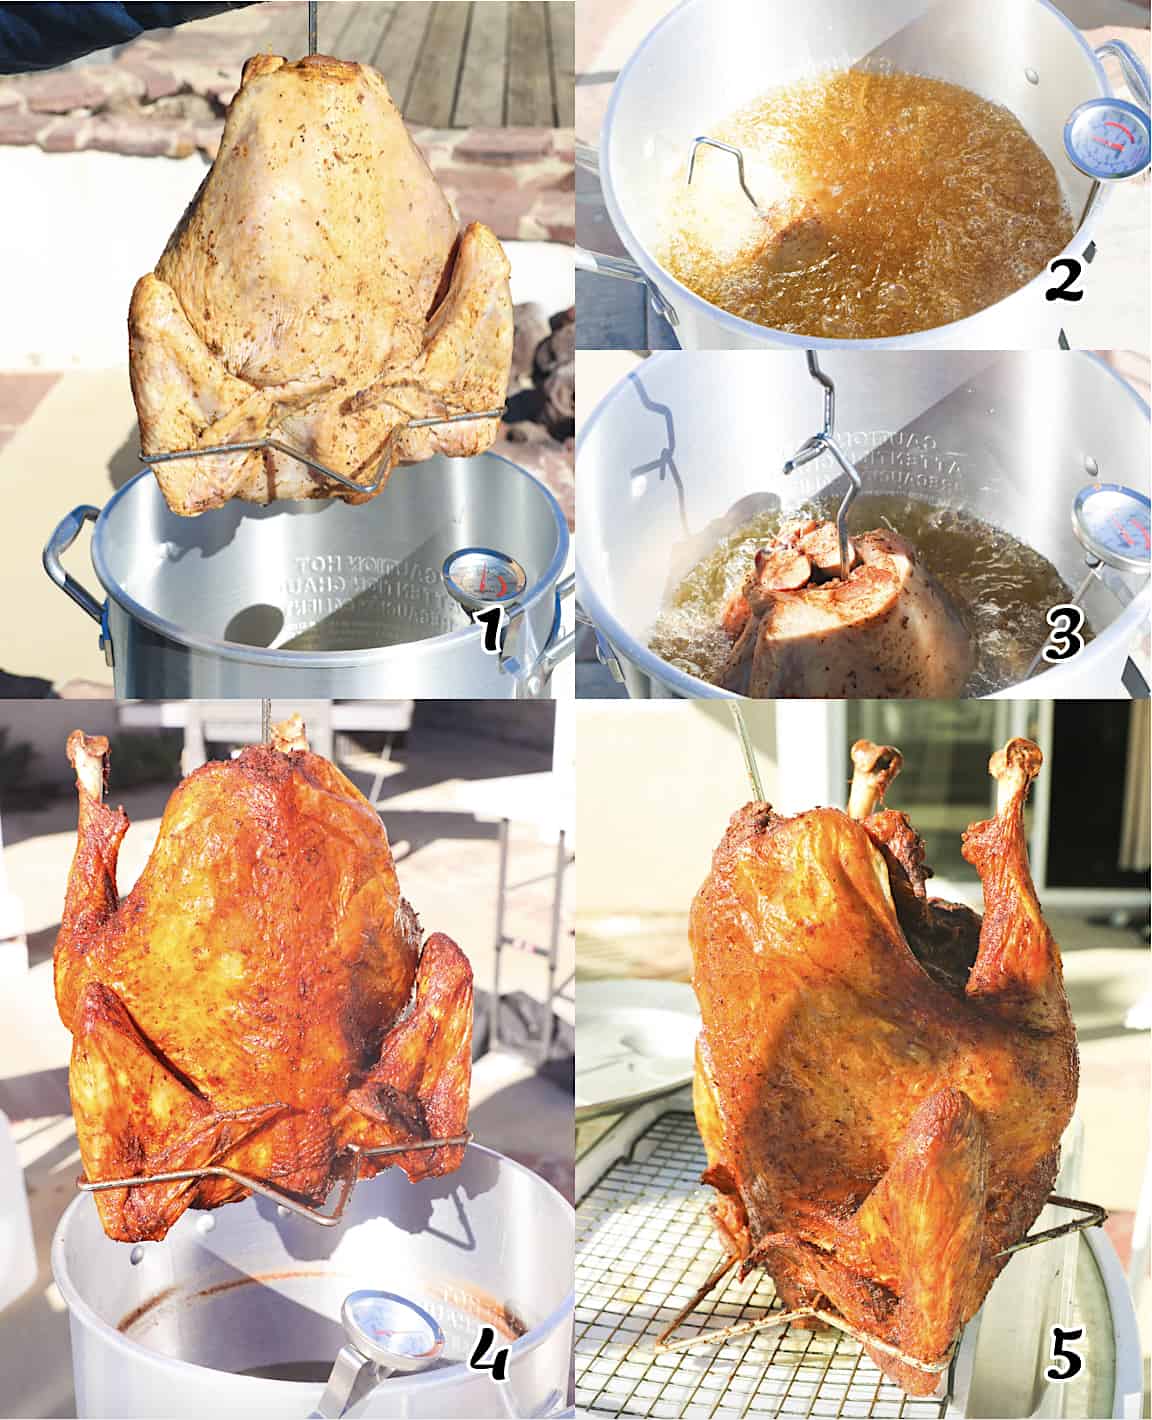
- Assemble – Insert the hanger through the turkey to firmly attach it. To prevent fire hazards, turn off the fryer before adding the turkey. That will prevent any flare-ups if oil accidentally spills over. (Photo 1)
- Protect Yourself – Put on a pair of heavy oven mitts or heat-resistant gloves. 🧤It’s also a good idea to wear long sleeves and closed-toe shoes for extra protection. Avoid getting close to the fryer with skin visible to prevent burns from oil splatter.
- Add the Turkey – When you’re all geared up, carefully place the turkey in the basket. Then, slowly lower the turkey into the hot oil, pausing every 15 seconds until the turkey is submerged in the hot oil. (Photos 2-3)
- Relight the deep fryer and fry the turkey for 3 minutes per pound (about 35 minutes or more), depending on the size of the turkey.
- Final Stretch – Monitor the oil temperature as the turkey cooks to ensure it stays around 375℉/190℃ during cooking. If it gets too hot, turn off the burner and wait a few minutes before relighting the fryer.
- Rest – Once the turkey is done, lift the basket from the fryer and drain the turkey on a rack set over a rimmed baking sheet for 15 minutes. (Photos 4-5)
- Serve – Finally, carve, serve, and enjoy. 😋
Recipe Variations
- Brine It: You can brine your turkey instead of injector marinating it. That will also give you a juicy, tender, and perfectly salted bird.
- Beer Brine: If you decide to brine your turkey instead of injecting the marinade, add a beer bottle for extra flavor.
- Poultry Swap: Yes, you can do this with chicken, duck, and pheasant, too. However, you won’t need as big a pot or as much oil.
Tips and Tricks
- For a show-stopping injector marinade, grind all the spices finely so they don’t clog the injector. Also, stir the marinade between uses for even distribution.
- Discard your leftover marinade that has been in contact with the turkey. 🦠
- Do not use a deep fryer indoors. Keep it outside to stay safe.
- Once the oil heats up, don’t move the pot or the burner. Even a slight movement can tip the deep fryer, causing a hot oil spill (dangerous) and a big mess (not fun).
- If the turkey starts browning too fast, lower the temperature. To cool it down fast, add a little fresh oil or turn off the deep fryer for a few minutes and then turn it back on again.
- To avoid fire hazards, place your deep fryer far away from powerlines and trees, especially trees with low-hanging branches or leaves.
- Keep the kids away from the fryer while you’re cooking. 🙅🏿♀️
- You should be fine following these tips, but keeping a fire extinguisher on hand is a good idea. Accidents can happen, and it’s good to be prepared.
Make-Ahead and Storage Instructions
Definitely marinate your turkey beforehand, but I recommend frying it on the day you plan to eat it. But if you’re making fried turkey for meal prep, fry your turkey whenever you like.
Store carved pieces in the fridge or the freezer in airtight containers. Typically, turkey will last 3-5 days in the refrigerator and up to 3 months in the freezer. Microwave individual pieces or bake them at 350℉/177℃ for 10-15 minutes or until warmed.
FAQs
Generally, it takes about 3 minutes per pound of turkey. So, for a 12-14 pound turkey that this recipe calls for, it takes 35-45 minutes to cook the bird. Make sure you know how much your turkey weighs before you start frying (don’t throw away that wrapper just yet!); that way, you’ll have a reasonable estimate of how long it takes.
If you want to be absolutely sure the turkey is perfectly cooked – not underdone or overcooked – use a cooking thermometer. The turkey is done when the internal temperature on the thickest part of the breast reads 165℉/75℃.
What Goes With Deep Fried Turkey
Serve up your fabulously flavorful deep-fried turkey with a few classic side dishes. I love offering Southern cornbread dressing, scalloped corn, and garlic mashed potatoes. Oh! And don’t forget the homemade gravy. 🤩
As for drinks, I like to serve something refreshing with this hearty meal. Try classic Southern sweet iced tea or tropical sorrel drink. Both make perfect pairings.
More Fantastic Fried Food Recipes to Try
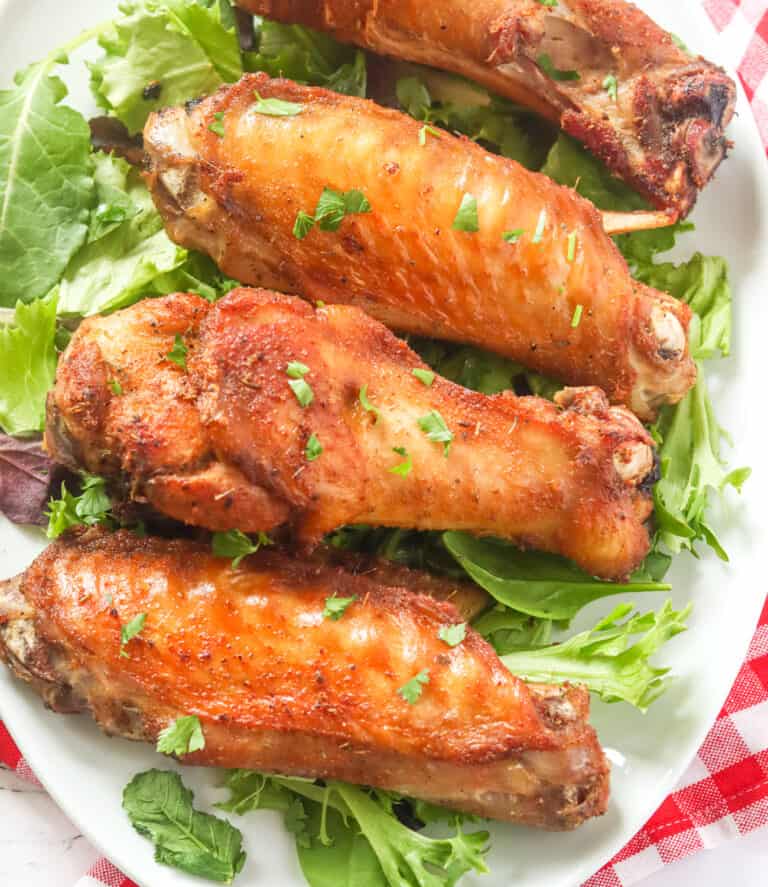
- Fried Turkey Wings
- Southern Fried Catfish
- Fried Deviled Eggs
- Spicy Fried Plantains
- Fried Red Snapper
By Imma
This blog post was originally published in July 2023 and has been updated with additional tips and gorgeous photos

