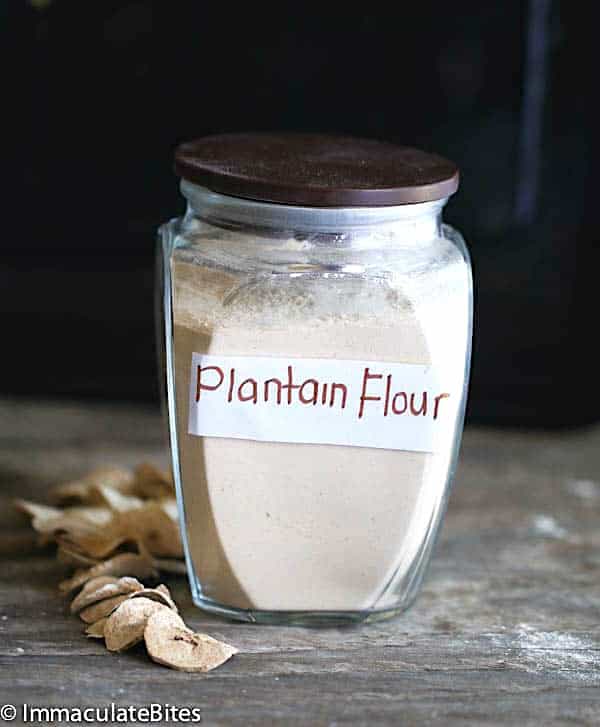
Plantain Flour
Plantain Flour – Homemade plantain flour is gluten-free, grain-free, and paleo-compliant. 100% healthier flour with no preservatives or allergens. And it’s a deliciously quick way to make fufu.
I didn’t just set out to make plantain flour. It just so happened that a couple of recipes I wanted to make required it. So, I decided to create a post and share my experience.
You can make plantain flour easily at home. Besides the price, the difference between the store-bought brand and the homemade variety is negligible. Fewer calories and higher fiber make you feel fuller longer. Yay!
Making Homemade Plantain Flour Without a Dehydrator
By the way, you can make it without cranking up your oven or using a high-priced dehydrator! Can’t afford or have room for another gadget? Let sunshine do all the work for you. ❤️
Recipe Ingredients
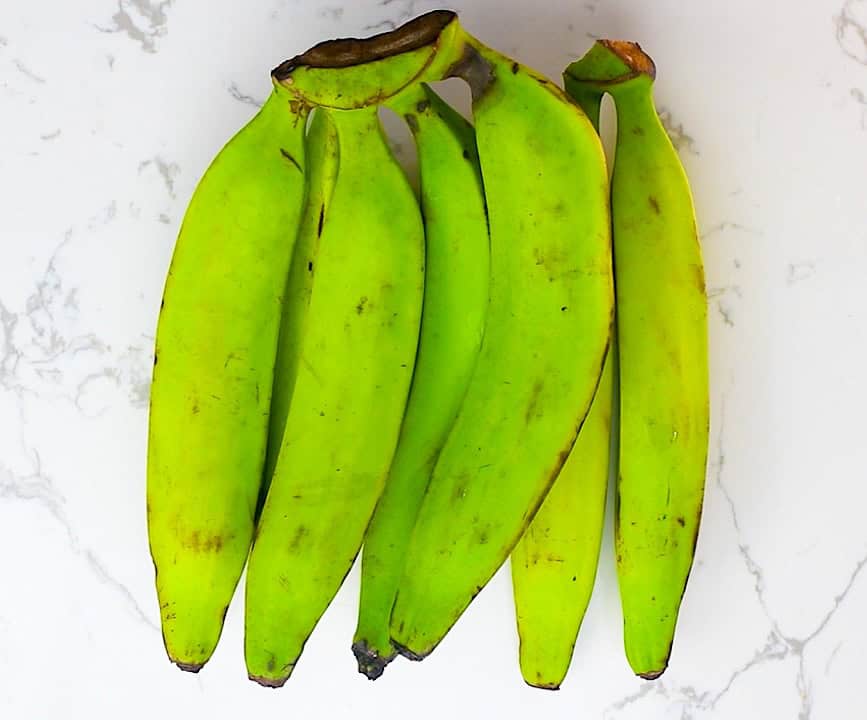
- All you need to make plantain flour is fresh green plantains. Ripe plantains won’t make the cut because they’re too soft and have a stronger flavor. Green plantains don’t have a banana taste for neutral-flavored gluten-free flour.
How to Make Plantain Flour
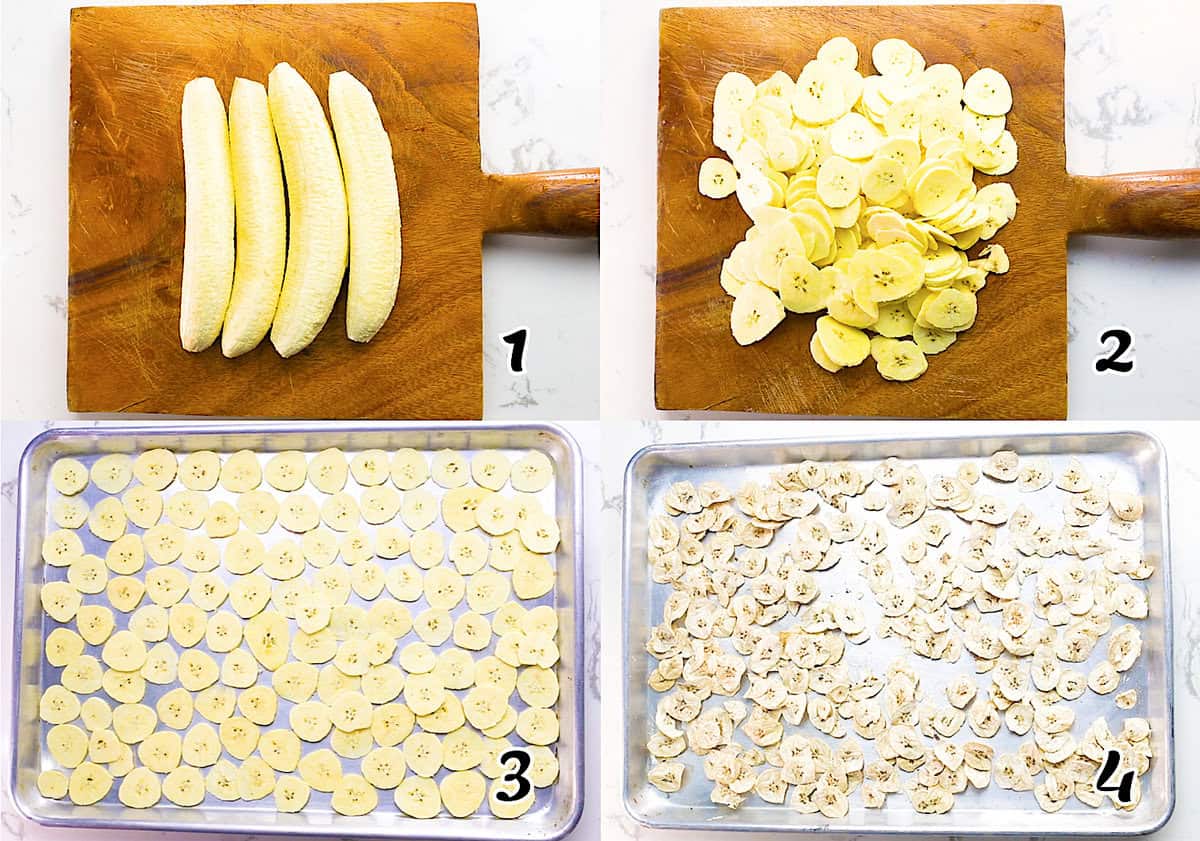
- Prep Plantains – Peel and slice them thinly. Use a mandolin if possible because it’s faster. I prepped 10 plantains in 15 minutes or less. Easy, eh, and 2-3 plantains make about a cup of flour.
- Dehydrate – Arrange plantains in a single layer on a cookie sheet or any object with a flat surface that you can leave outside. Leave them outside for about 3-5 days to really dry well.
- Note: Layering is my least favorite part, so I bribe my sous chef (my son) extra computer time to spread it out. He loves doing it, plus he gets extra computer time. It’s a win-win for both of us.
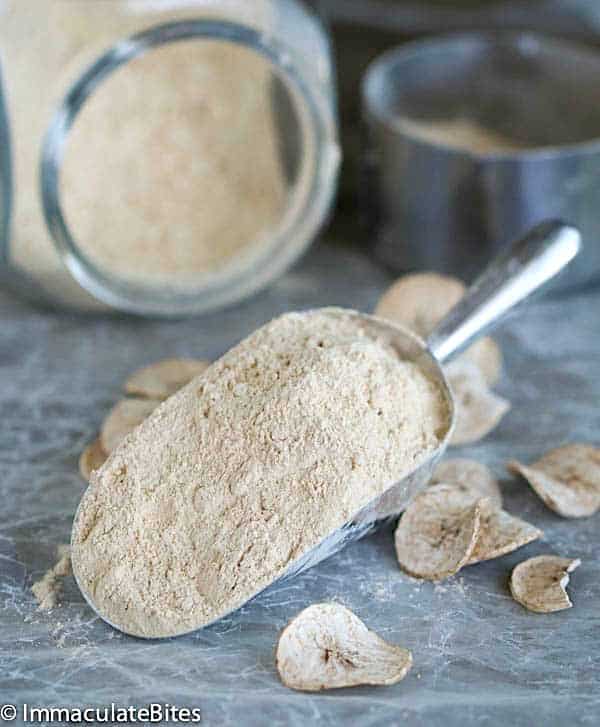
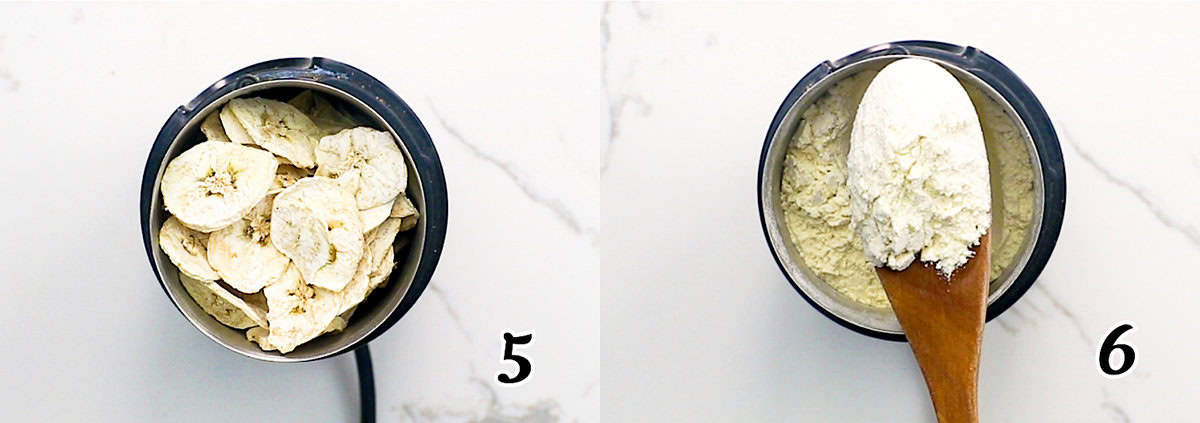
- Grind – When plantains have reached the desired dryness, blend in a food processor or coffee grinder. I like the coffee grinder because it does a better job. However, I can only do a little at a time with a coffee grinder.
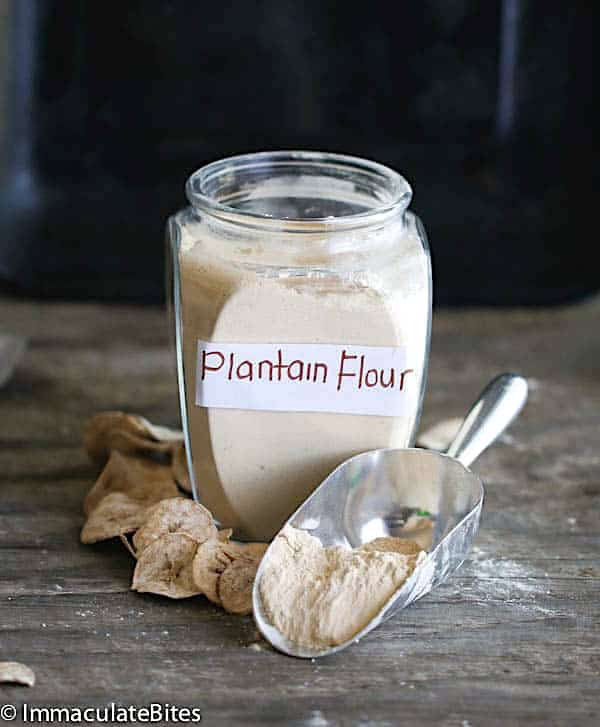
- Store your plantain flour in an airtight container and start cooking. Enjoy!!!
Recipe Variations
- Green bananas also make good flour. The only challenge is finding them because most stores sell them partially or completely ripe. A Latin or Asian market may sell hard green bananas.
- Yams (Dioscorea, not sweet potatoes) also make good flour if peeled, sliced, and dried the same way. Equally good for making instant fufu.
- Skip dehydrating. For a simple plantain flour pancake, peel and slice one green plantain. Then, put it in a blender with an egg, a teaspoon of vanilla, a pinch of salt, and a spoonful of brown sugar or honey. Puree until smooth, adding just enough milk or buttermilk to create a pancake consistency. If it’s too thin, add a ¼ cup ground flax seed. Heat a griddle with a pat or two of butter, and make your pancakes as usual as soon as the butter sizzles.
Tips and Tricks
- Please do not eat green plantains, cassava, or yams raw. They definitely need to be cooked before eating.
- A dehydrator is almost a must to make plantain flour if you live in a humid climate. It takes 10-16 hours (depending on slice thickness and humidity) at 135℉ (60℃).
- You could also dehydrate plantain slices at a low temperature in the oven (180-200℉/80-95℃) for 3-4 hours.
- Sift the flour after grinding for smoother results.
Make-Ahead and Storage Instructions
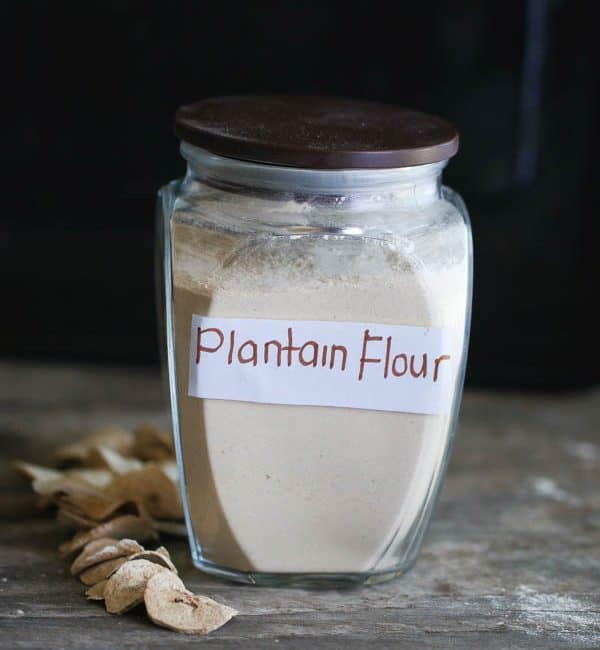
I like making a big batch of plantain flour because it takes almost as much work to make a small batch. And it lasts a good six months on the shelf if stored correctly.
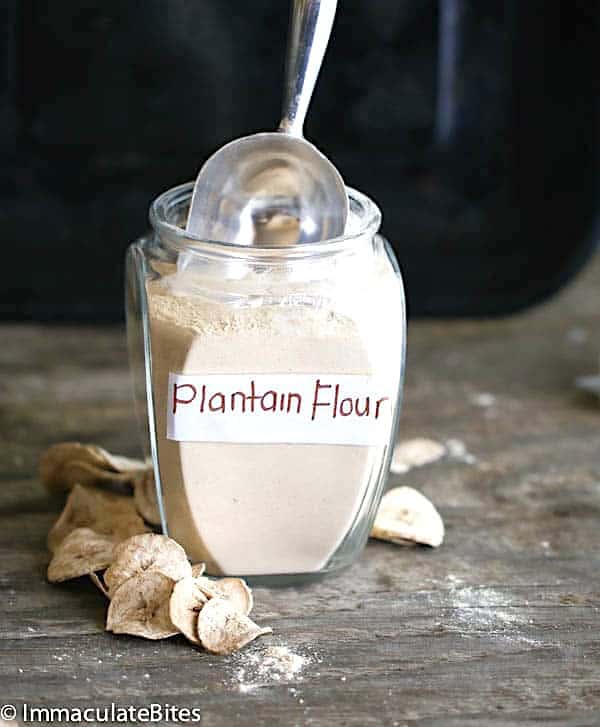
Label your airtight container with the name and date so you remember what you have and when you made it. Keep it away from heat and the sun, and it should last six months. If you want it to last longer, keep it in the freezer.
How to Use Plantain Flour
Plantain flour is an ideal gluten-free soup and stew thickener. You can include it in gluten-free breading for fried chicken legs, catfish, squash, etc. You can also make easy plantain fufu flour.
More Naturally Gluten-Free Recipes to Try
- Grilled Potato Wedges
- Oven-Baked Salmon
- Hot Corn Dip
- Braised Chicken Thighs
- Stuffed Pork Chops
- Cassava Cake
Watch How to Make It
[adthrive-in-post-video-player video-id=”oBEsN4Zc” upload-date=”2020-07-25T03:18:15.000Z” name=”Plantain Flour” description=”Homemade Plantain Flour – Gluten Free, Grain Free, and Paleo. 100% healthier flour – No preservatives or allergens involved.” player-type=”collapse” override-embed=”false”]
This blog post was originally published in April 2015 and has been updated with additional tips, new photos, and a video
Plantain Flour
Ingredients
- 2-3 green plantains per cup of flour
Instructions
- Peel and slice the plantains thinly. Use a mandoline if possible because it's faster. I prepped 10 plantains in less than 15 minutes with my trusty mandoline.
- Arrange plantains in a single layer on a cookie sheet or any object with a flat surface that you can leave outside. Leave them outside for 3-5 days to really dry well.
- When plantains have reached the desired dryness, blend in a food processor or coffee grinder. I like the coffee grinder because it does a better job. However, I can only do a little at a time with a coffee grinder.
- Store your plantain flour in an airtight container and start cooking. Enjoy!!!
Tips & Notes:
- Please do not eat green plantains, cassava, or yams raw. They definitely need to be cooked before eating.
- A dehydrator is almost a must to make plantain flour if you live in a humid climate. It takes 10-16 hours (depending on slice thickness and humidity) at 135℉ (60℃).
- Or dehydrate plantain slices at a low temperature in the oven (180-200℉/80-95℃) for 3-4 hours.
- Sift the flour after grinding for smoother results.
- Please remember that the nutritional information is a rough estimate and can vary significantly based on the products used in the recipe.


Thanks for the article. I want to produce plantain flour commercially. However, uninterrupted electricity supply is not guaranteed in my country. How do I dry in the sun for three to five days? What if the sun is not consistent?
Sorry I don’t do this for commercial purposes. I would do be able to offer you any suggestions , asides for drying it out when the sky is clear.
I’ve got a dehydrator. What temperature would you suggest that I set it at to dehydrate green bananas?
About 130- 135 Degrees F. For about 7-8 hours , or until plantains is dried.
About 130- 135 Degrees F. For about 7-8 hours , or until plantains is dried.
I am interested
Thanks..
Can I have your number
Hello Ngwa .
I will like to partner with you, if our location permit.
Please where is your country of resilence?
Best regards
Edu Adams
Hello,I’ll like to partner with you please,can u pls drop your phone number
How do I make fufu out of the plantain flour?
Hi, Mildred. My apolohies, but I haven’t tried using this flour for fufu.
You prepare it like you do for corn flour , u know flour get to make bubbles in hot water,so it’s advisable to Mix a reasonable quantity with cold water before using hot water
Thanks for your input .
I just used storebought plantain flour to make plain pancakes, I think it holds much promises for my next experiments: cookies, muffins and creams. And now I know there’s a way to make it at home, that’s good!
(ps: I think of a banana peanut pancake made with plantain flour and topped with caramel syrup. I’M ON A DIET )
Hahaha!!! You sure are having fun for someone who is on a diet.
Well it’s my family who’s eating what I make lol…It’s chicken breast and green beans time for me. But thinkering in the kitchen is so much fun to me, I can’t give it up.
(I’m on a diet because of thyroid issues and man, it sucks, especially as a wannabe chef)
Are There Any (1)Preservatives (2) Flavor In Plantain Flour?
It depends on the brand. My guest is that most of them do have preservatives in it. With homemade you control what goes into it.
Can I make this at home and sell.
You sure can. All the best!
Can it be used to bake?
It depends on the recipe. But has to be together with other gluten flours.
Can it be used the same way as gari – just add water?
No, you have to cook this .
5 days!!! OMG that’s such a long time. wondering if it would work if I put them in the oven on very low heat. I must try this though.
That’s how some people make them. It will be just fine .
What is the use of plantain flour.
Plantain flour is used to make a variety of dishes- both savory and sweet.
Please what are other dishes we can make from plantain flour?
You can make fufu with it, pancakes etc
Plaintain flower is my favourite food, I will try your tips at home
You know I’m all about using gluten free flour, so this one is right up my street. I’m adding this to Pinterest too.
Charlene, thanks for pinning!